After nearly 15 years of painting professionally, I’ve developed a distinct style rooted in precision and close attention to detail. My work is known for its bright, vivid color combinations and minimally, yet carefully composed subjects. I began by painting florals from nature but quickly discovered how much I enjoyed the creativity of arranging my own still lifes, pairing flowers with simple yet striking vases, bowls and teacups.
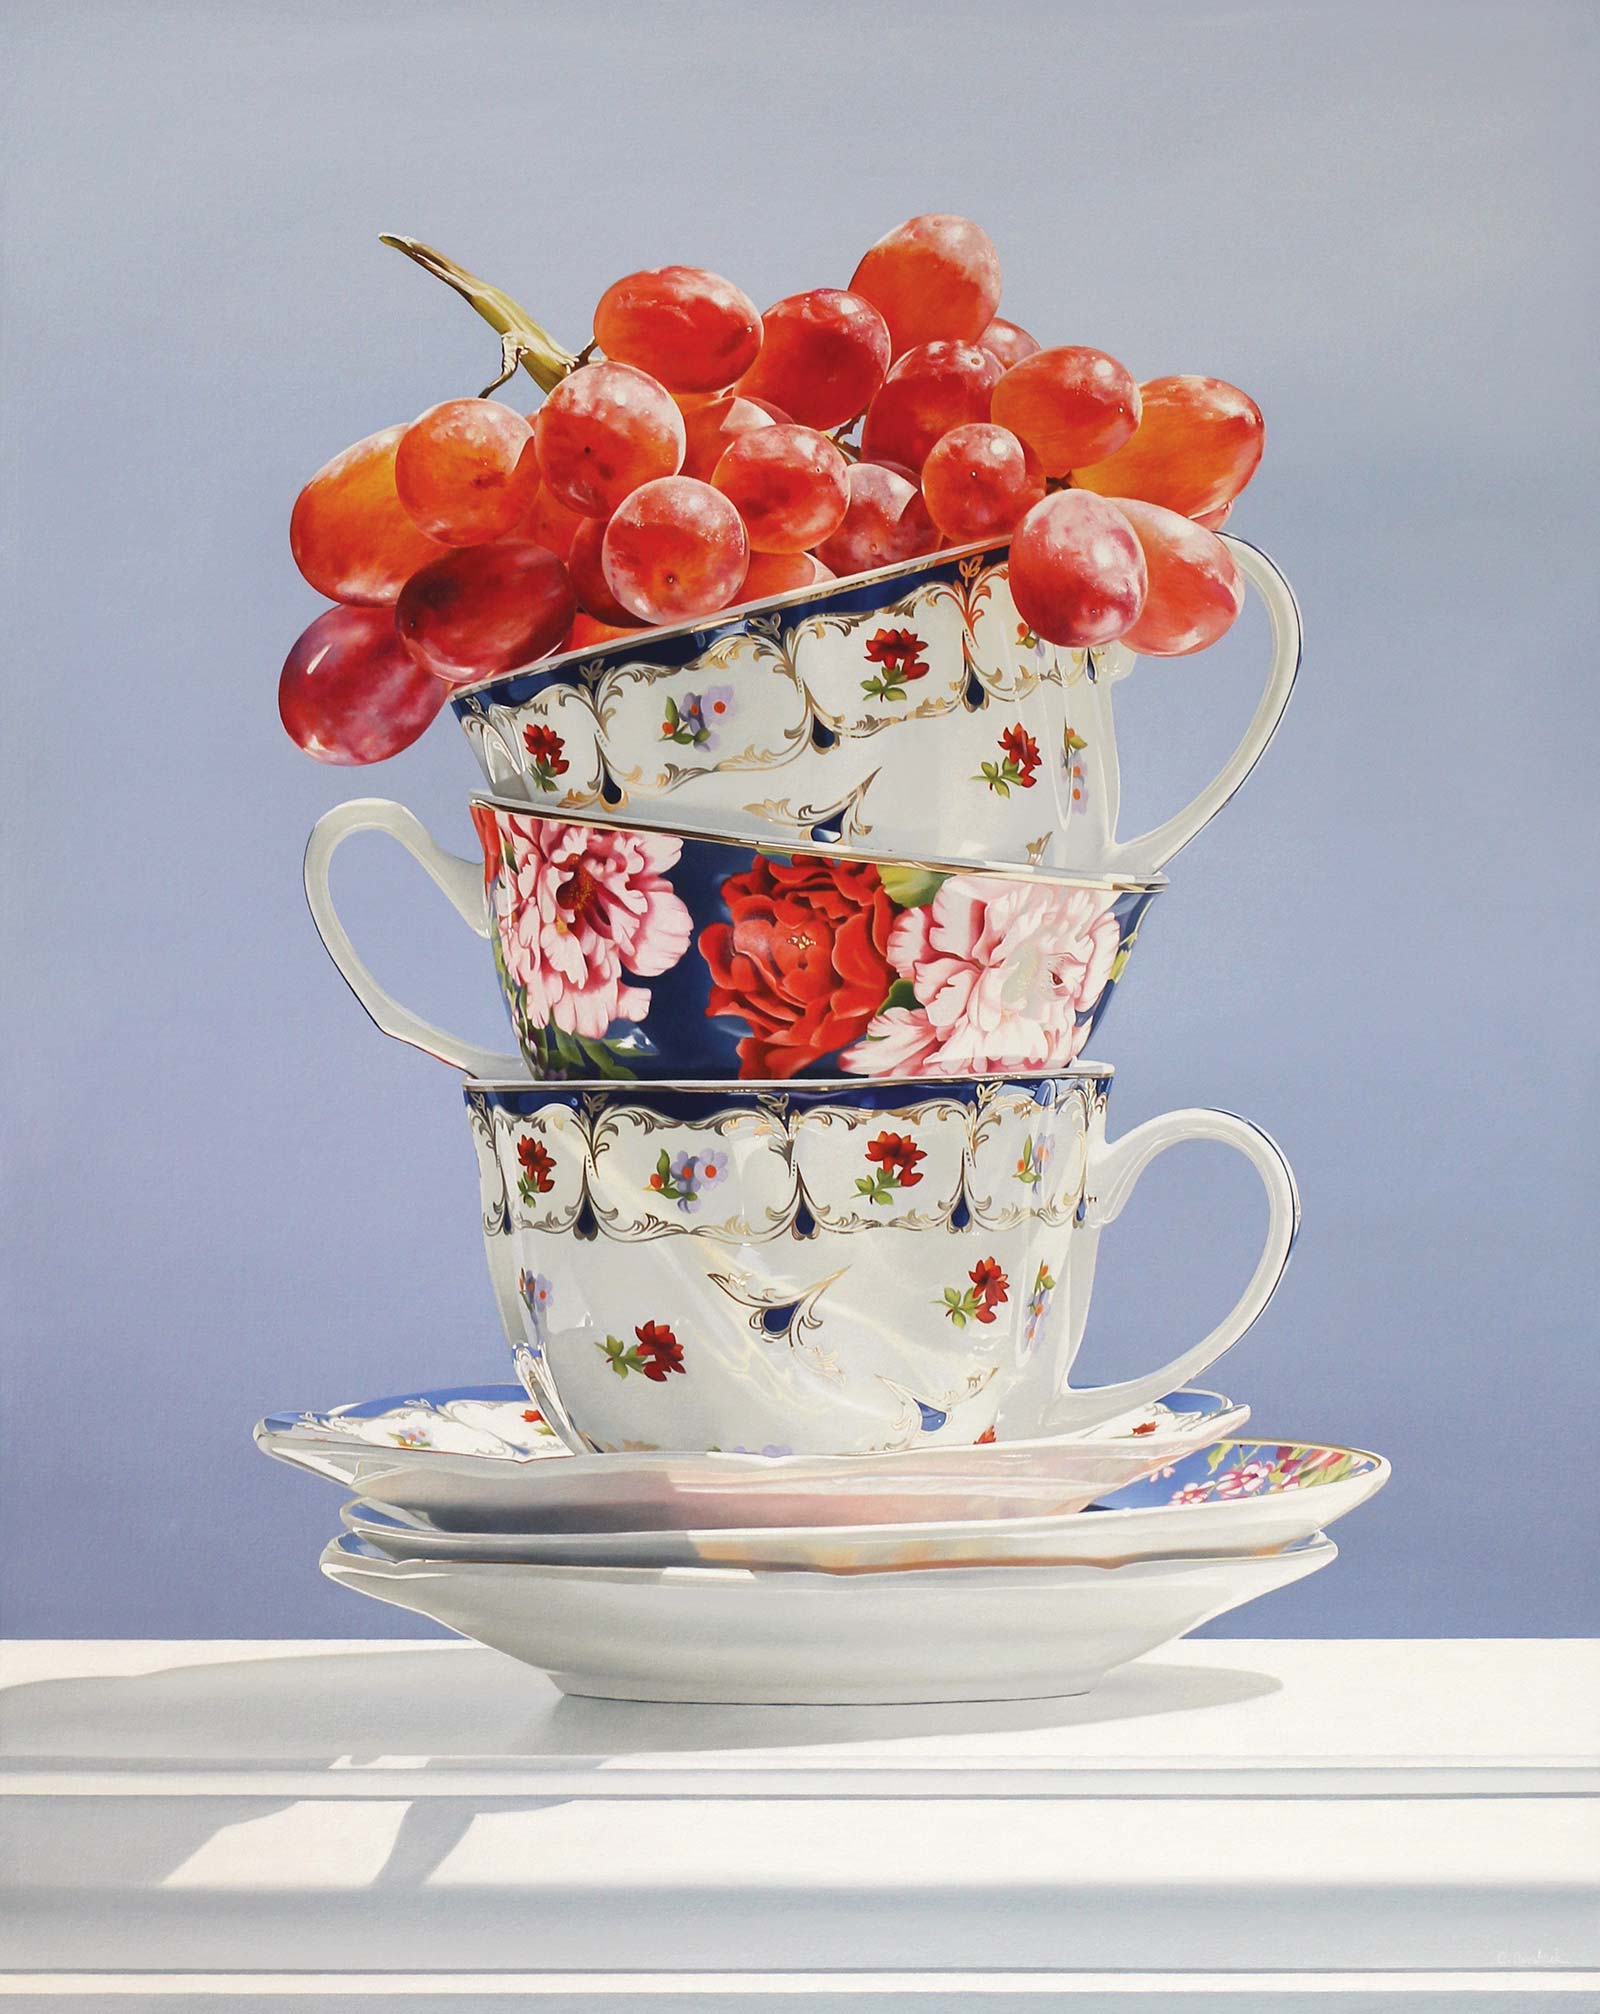
Aurora, oil on mounted canvas, 48 x 38” (121 x 96 cm)
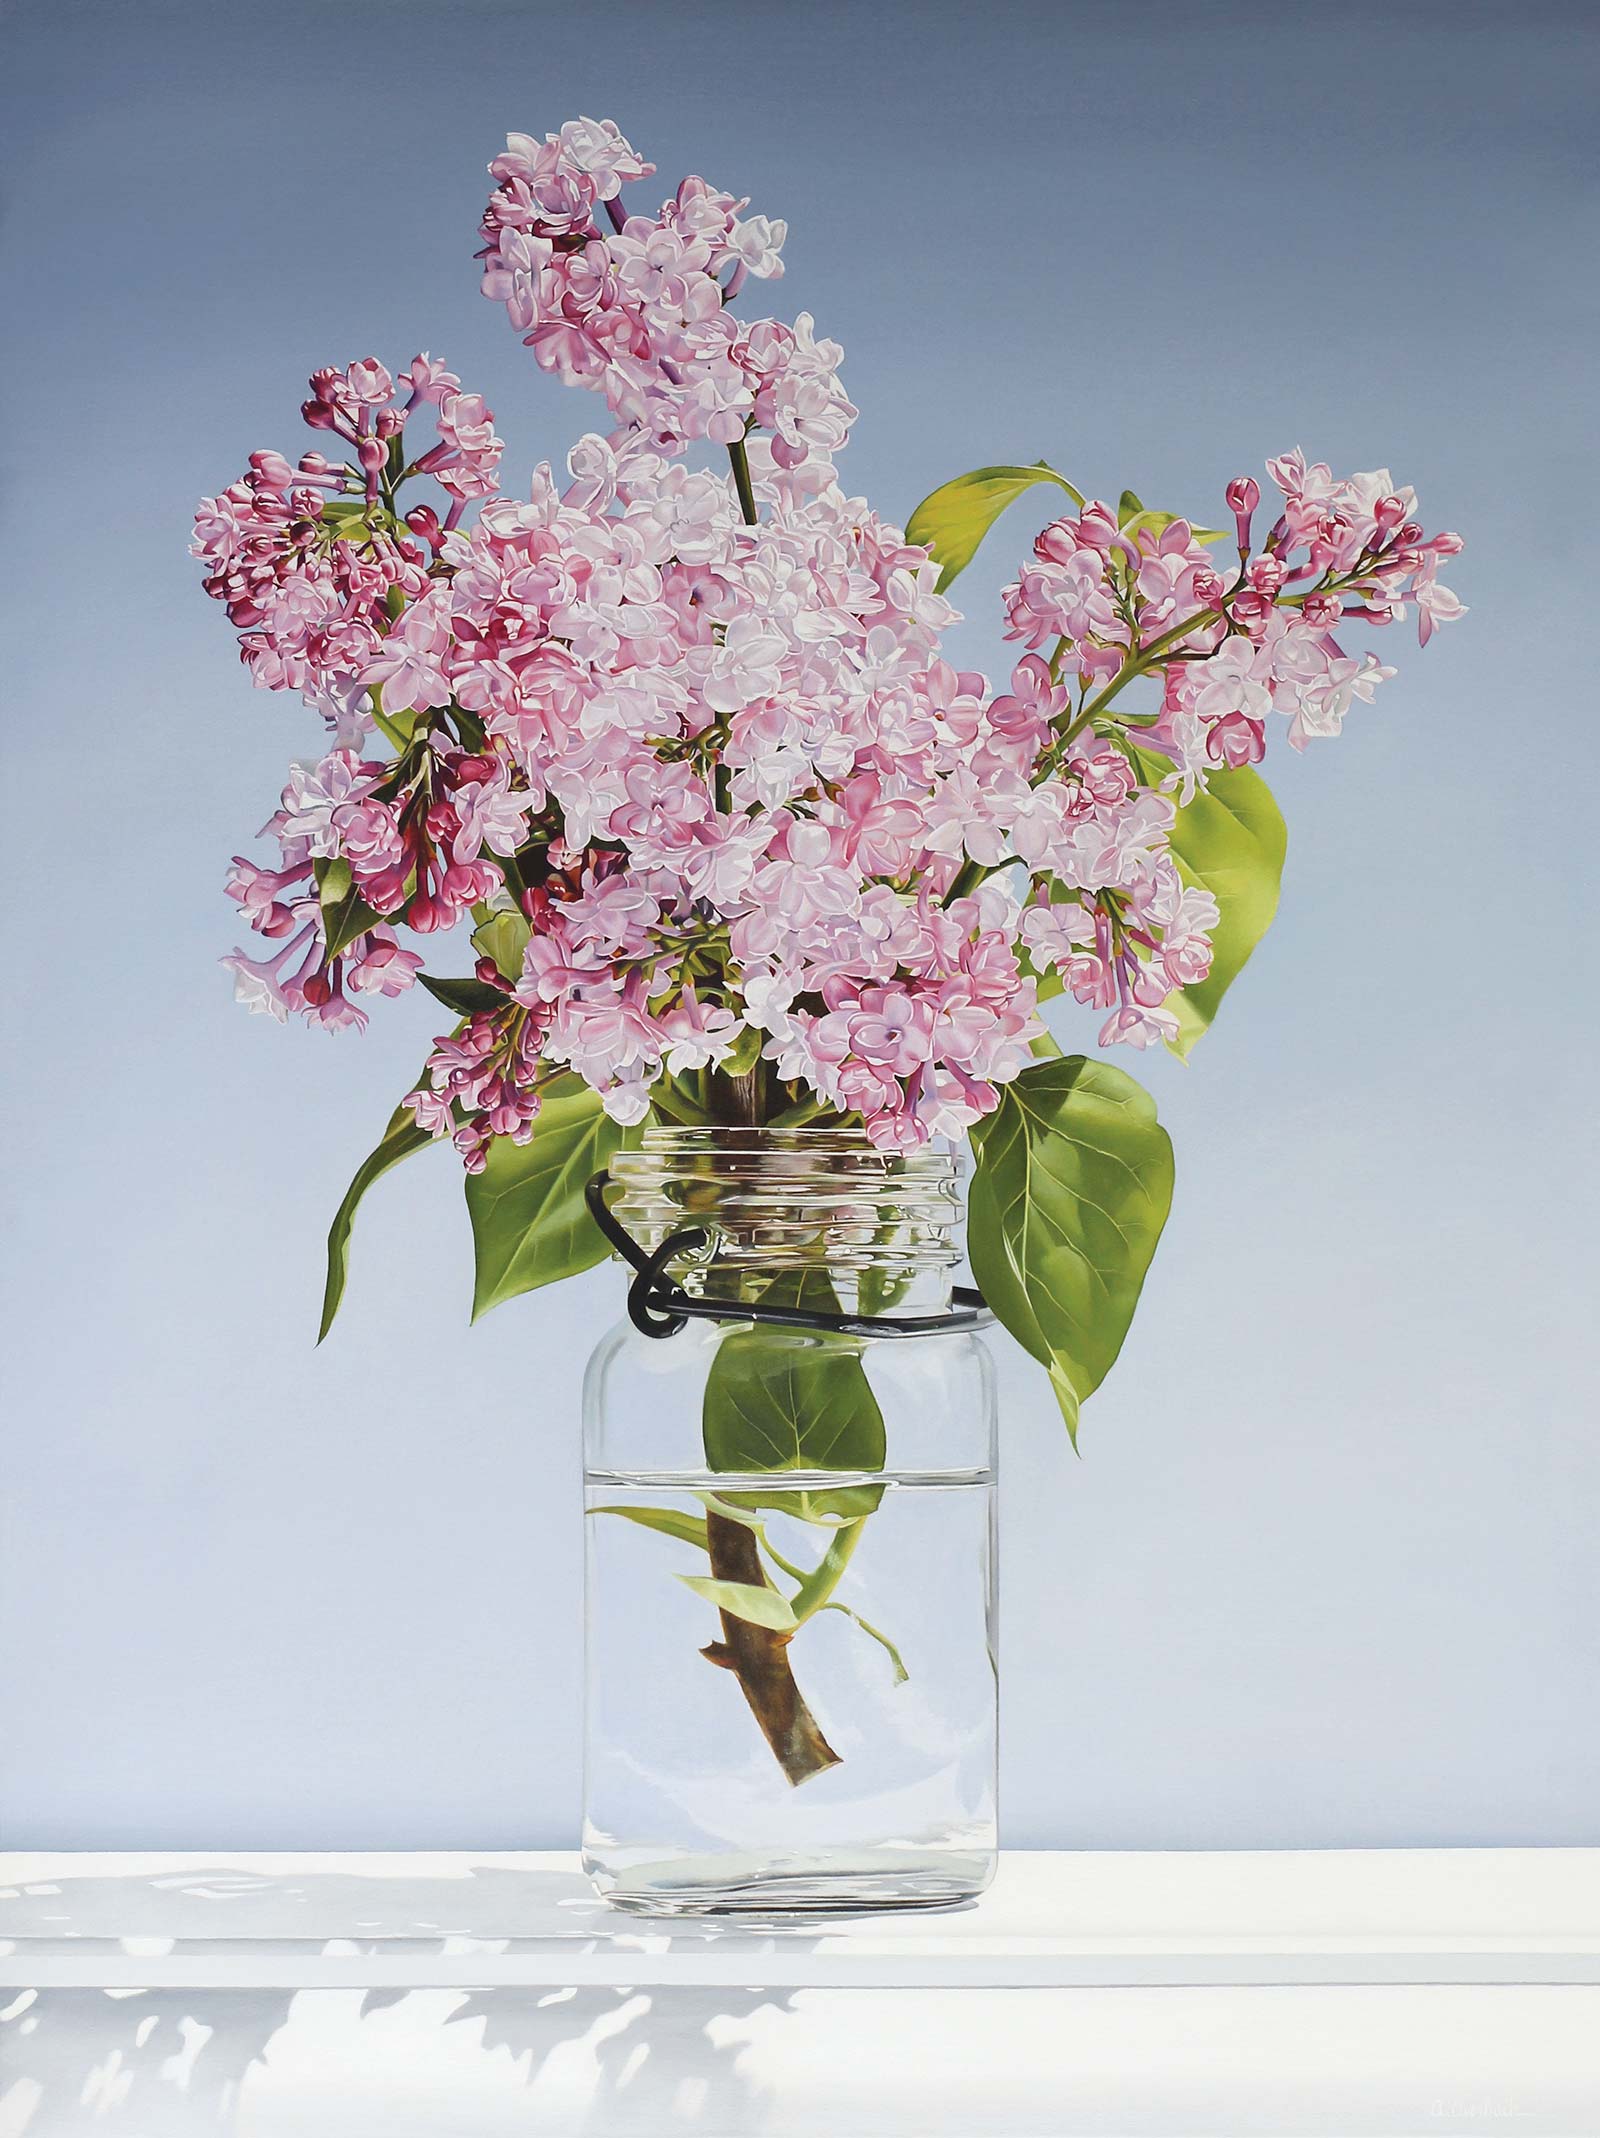
Essence, oil on mounted canvas, 40 x 30” (101 x 76 cm)
My teacup series, in particular, has been especially captivating for me. It began with stacked teacups balanced one atop another, with berries perched precariously on top. Over time, the compositions evolved to include colorful sweets, and later, flowers cascading from a single vibrant teacup and saucer. While I use reference photos, I don’t feel bound by them—I often change colors, combine elements from multiple images or swap in teacups that better suit the composition.

Echo, oil on mounted canvas, 20 x 22” (55 x 50 cm)
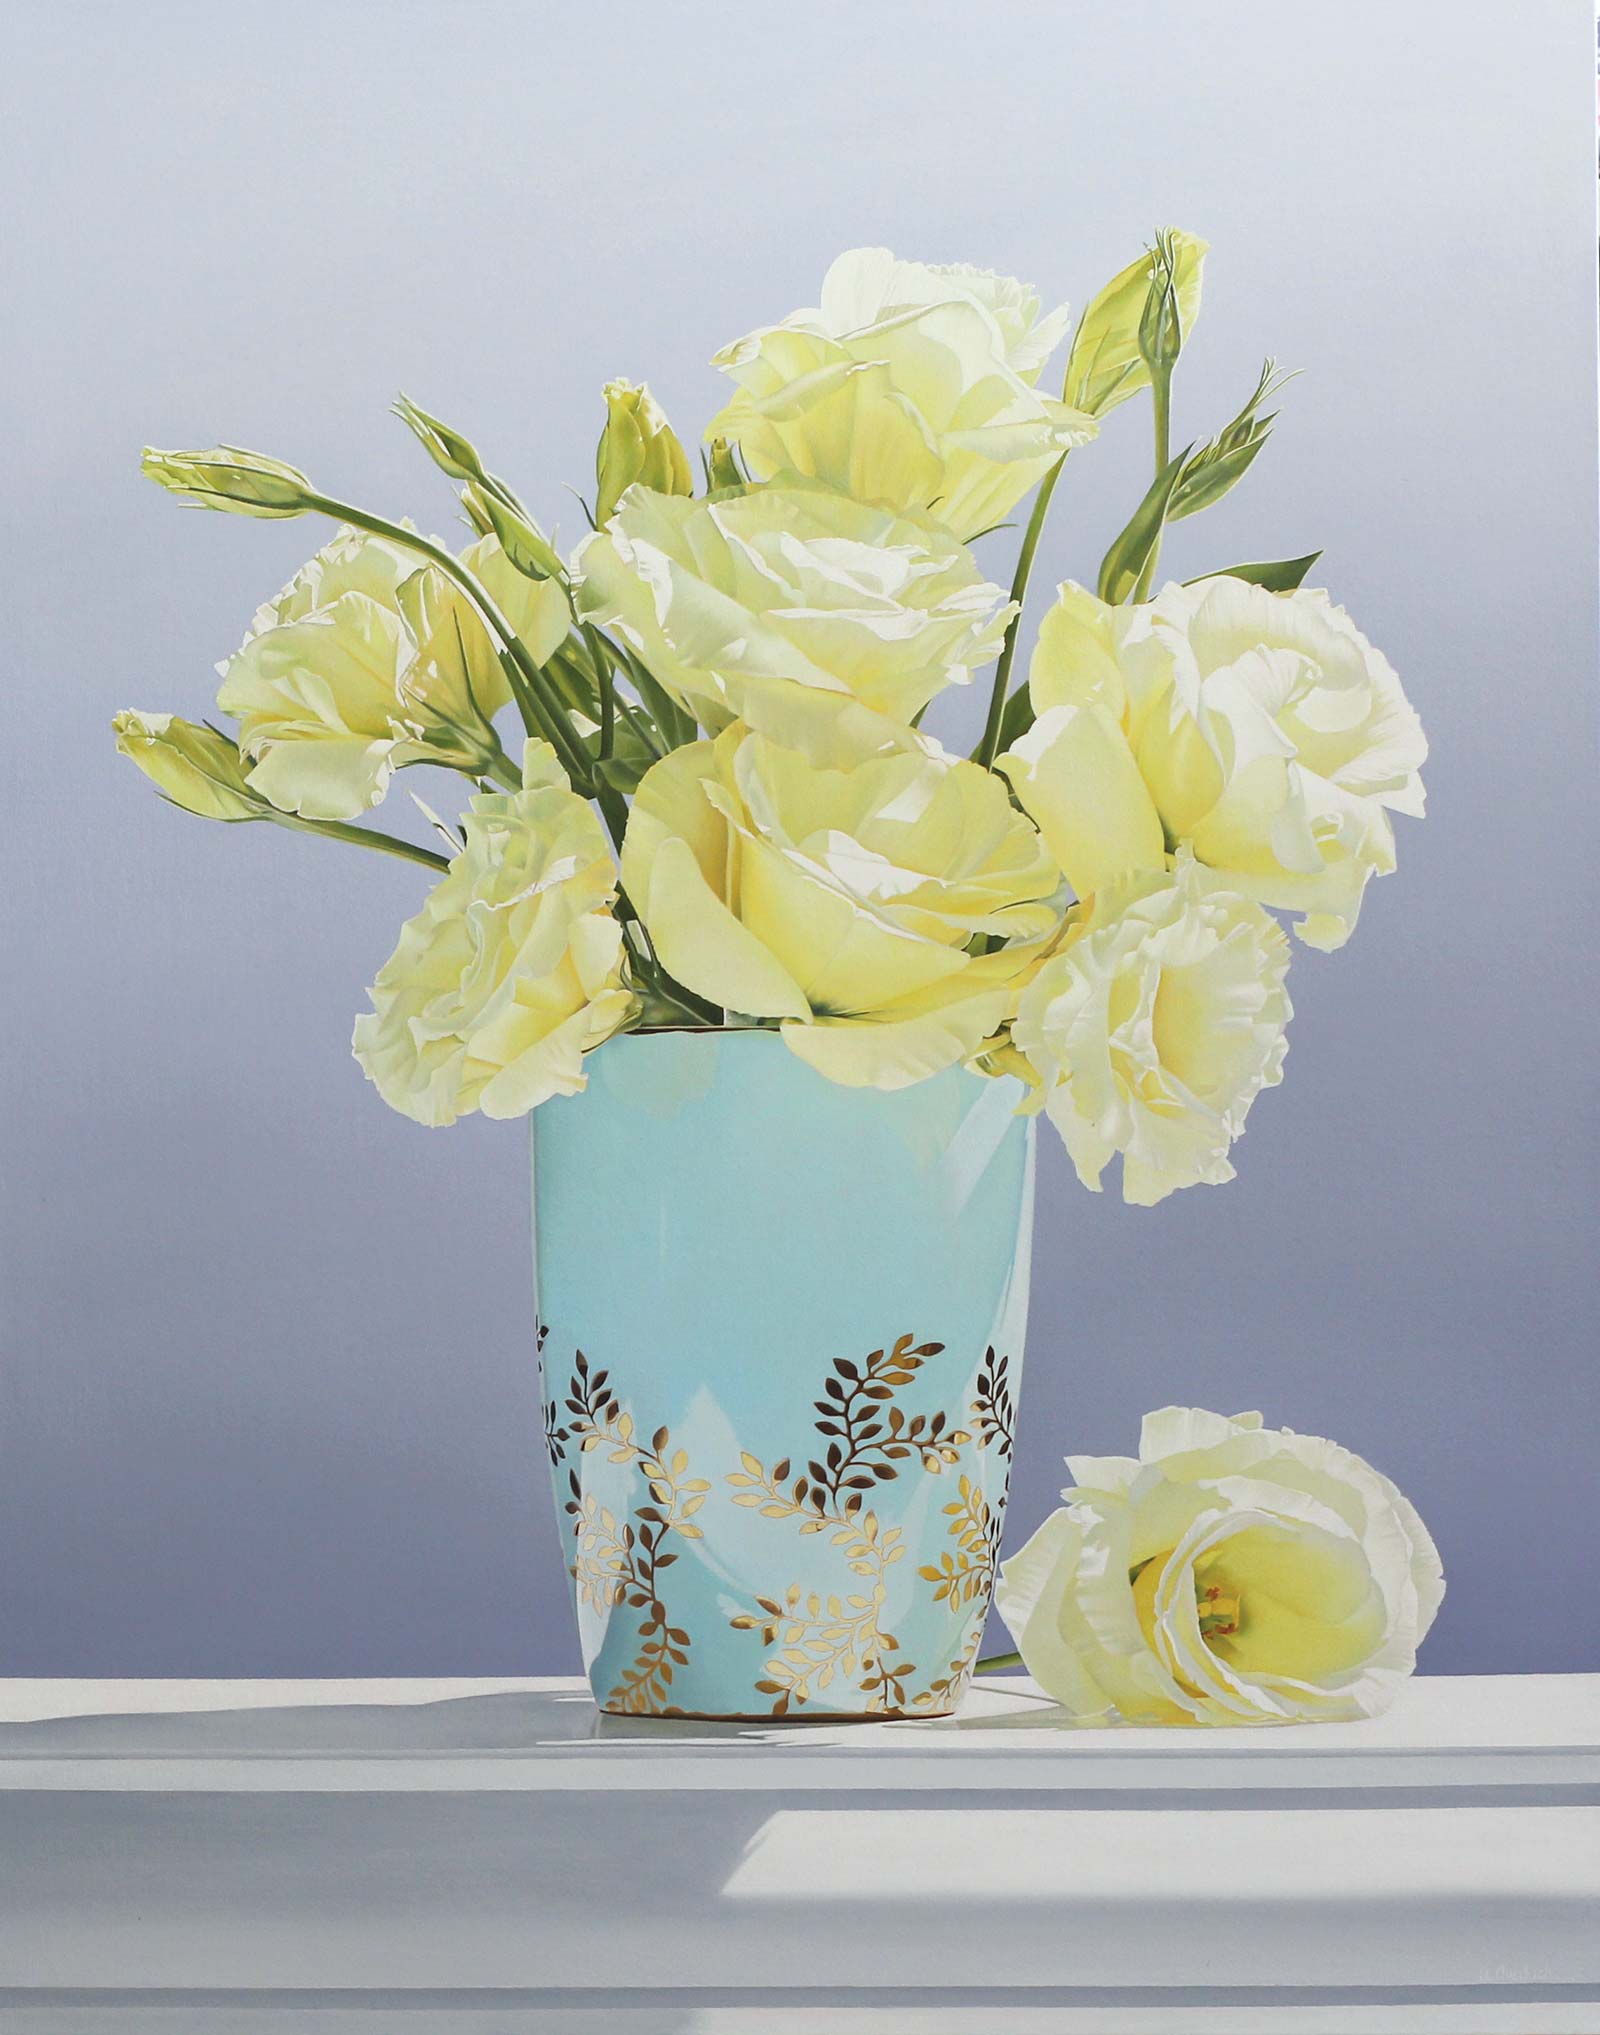
Vision, oil on mounted canvas, 38 x 30” (96 x 76 cm)
My paintings tend to be light-filled and richly colored, which lends them a subtle, fantastical quality. I strive to capture a sense of stillness and quiet that draws viewers in. I especially love rendering minute details that reward close looking. These small elements are what give my work its distinctive signature.
My Art in the Making Journey
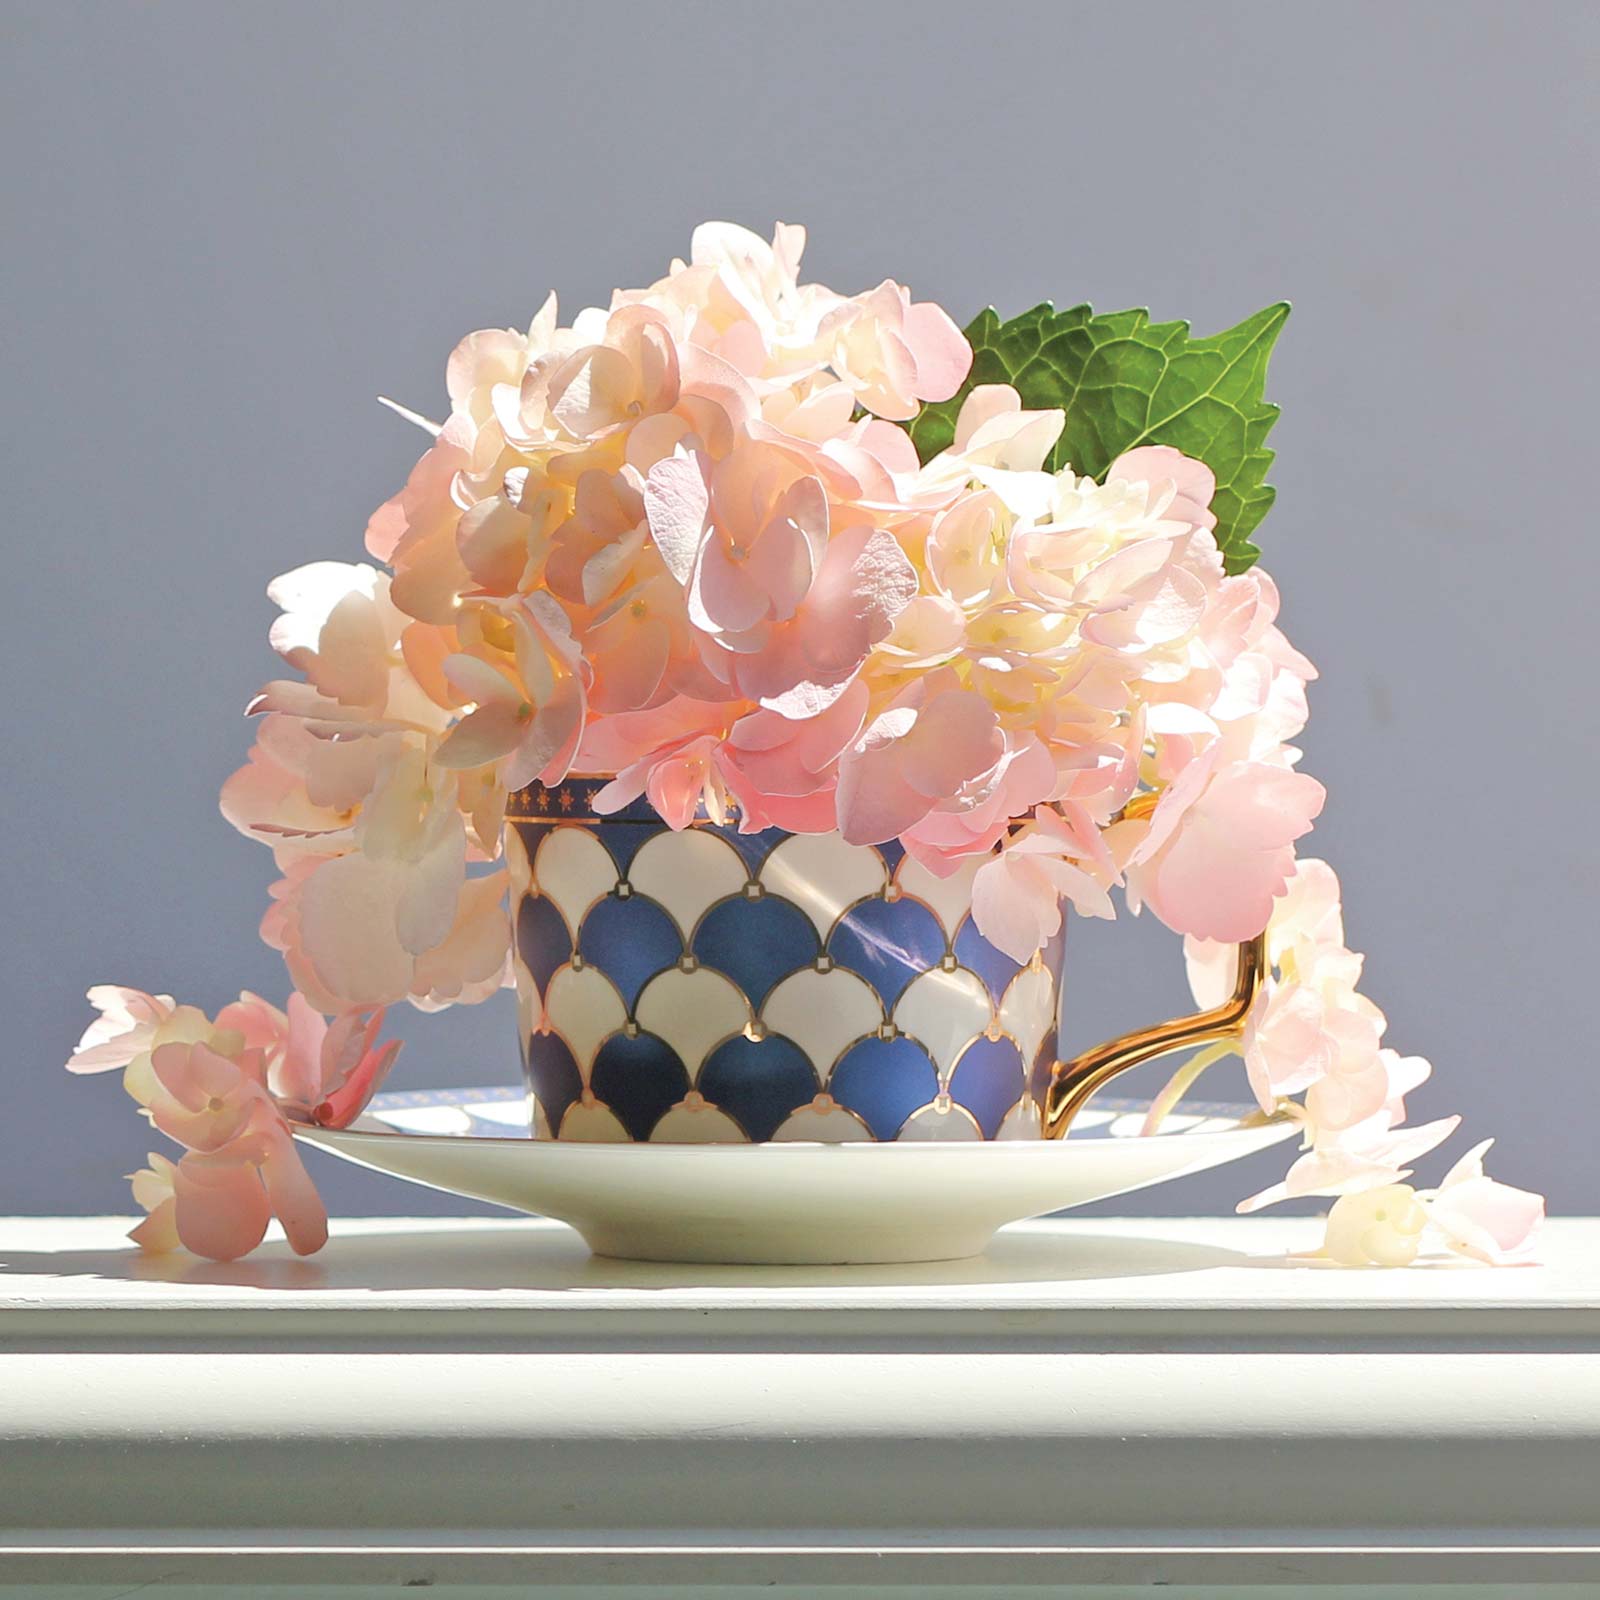
Reference Photo
After buying the hydrangeas from a local florist, I set them up in various arrangements by my south facing window. I like the light flow that the bright early afternoon sun gives the petals. I take hundreds of photos of the flowers in many different vases and teacups that I have collected.
For this demonstration, I’ve chosen hydrangeas arranged in a blue patterned teacup. I’m drawn to the way the petals cascade gently over both sides of the cup, as well as the range of colors within the blooms, from soft yellows to vivid pinks. I prefer working on aluminum composite material (ACM) panels for their durability and stability. I purchase them in large sheets and cut them to size, then mount a fine portrait-grade canvas on top. The tight weave of the canvas allows me to achieve the delicate details that are so central to my work.
 1
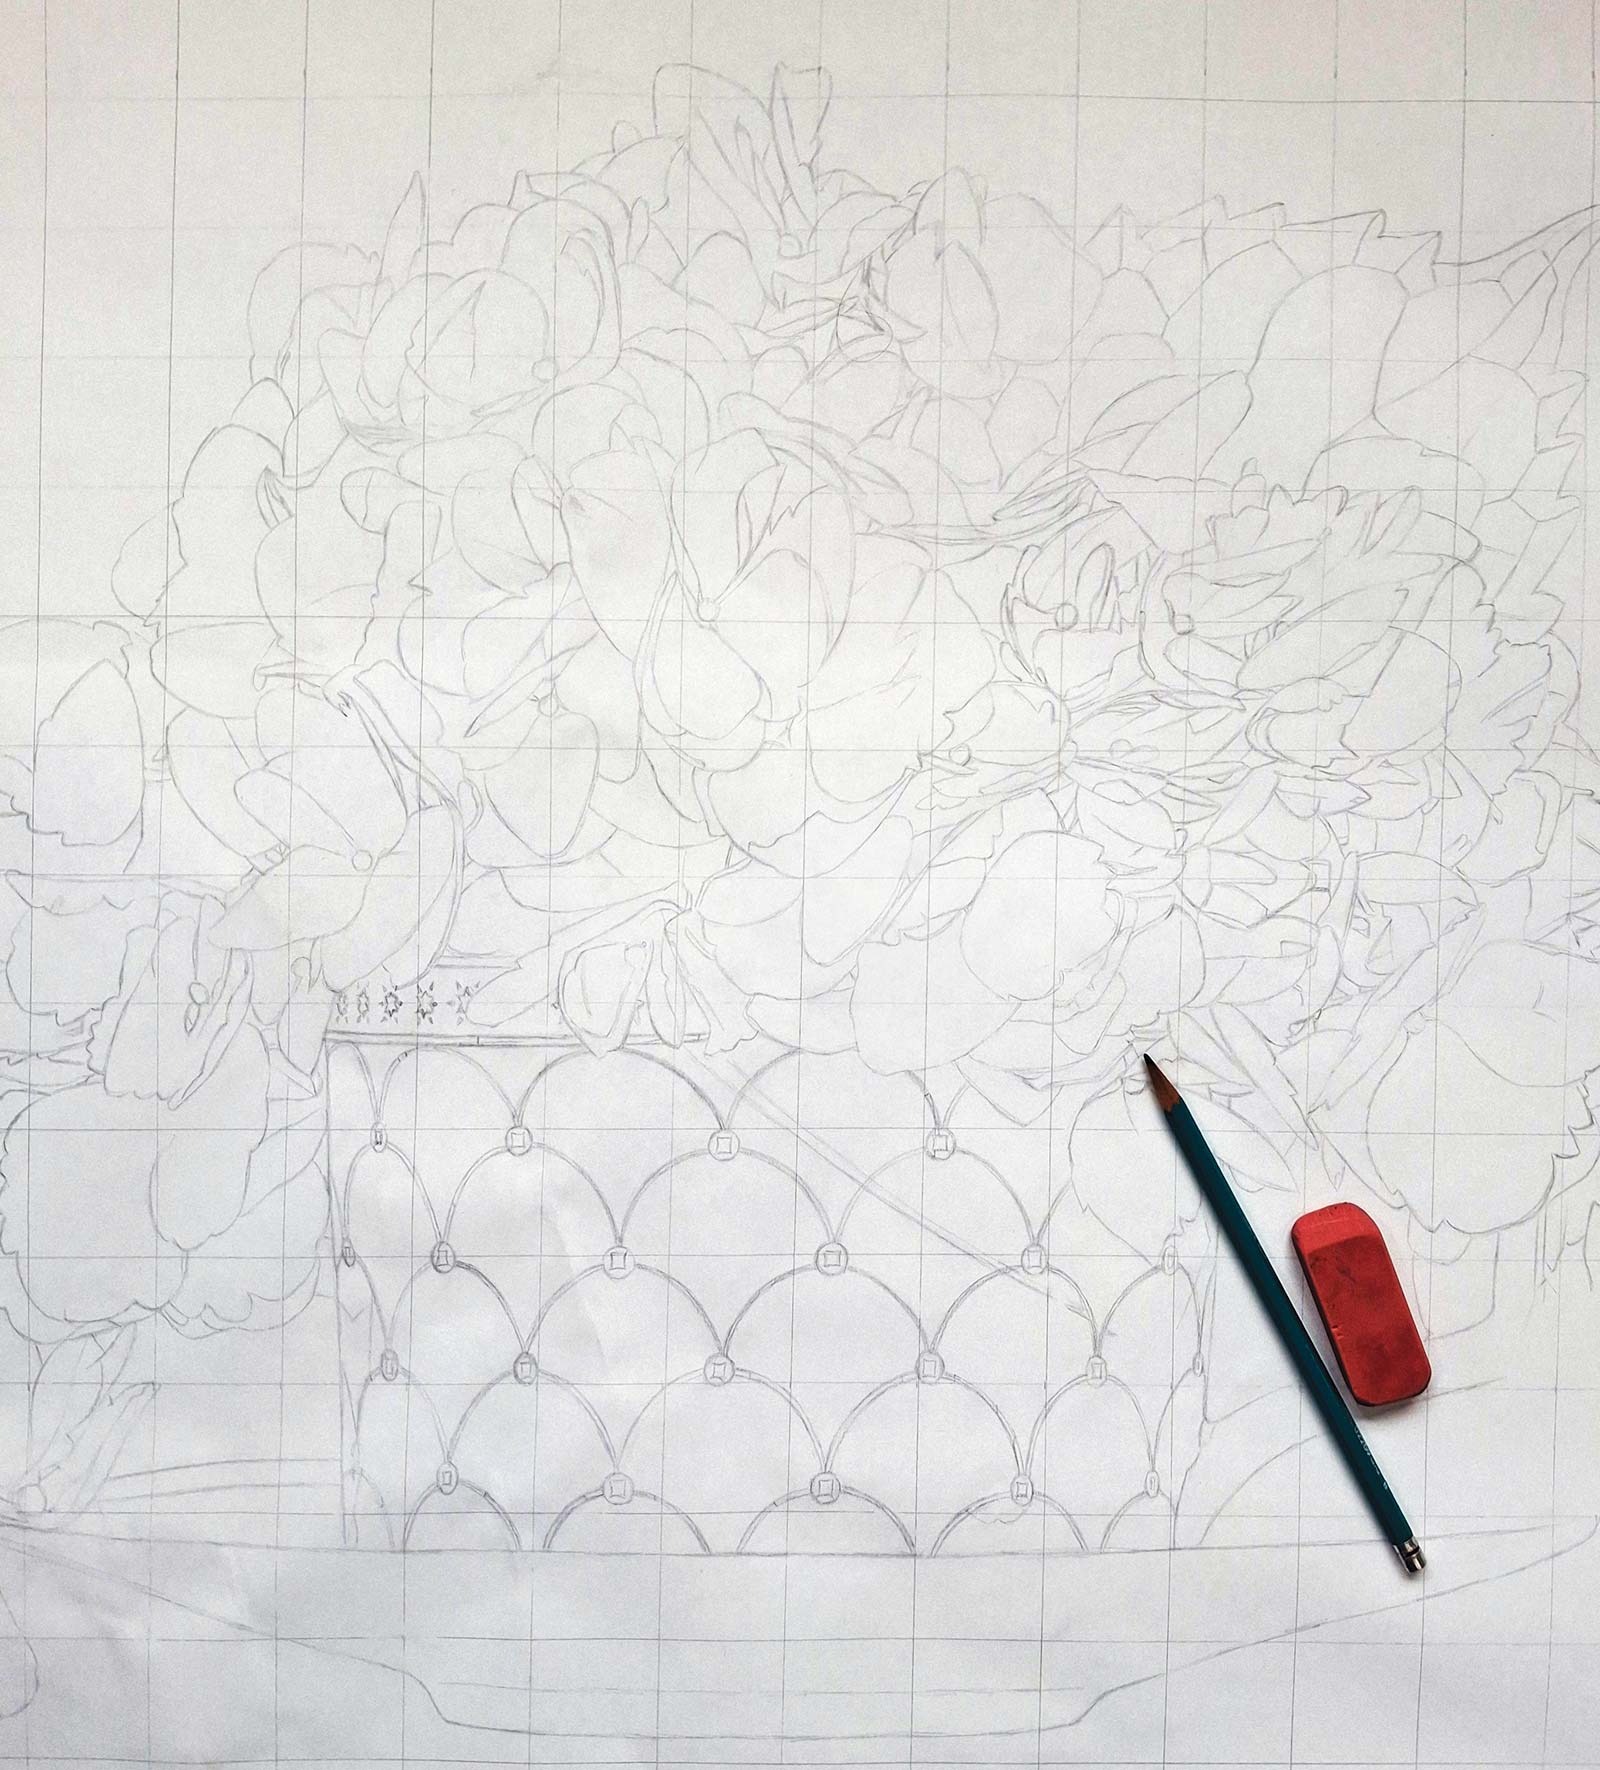
1Stage 1 Sketch
I chose the arrangement of the flowers on top of the teacup and decided on the size of my canvas. Using a plain easel paper and the grid method (I also place a grid on the image using Photoshop), I draw the outline of the subject. I usually am not overly concerned with the exact placement of the flowers, and sometimes delete or add petals where I see fit. Minor details, like the little stars on the saucer, I add to the canvas as I paint.
 2
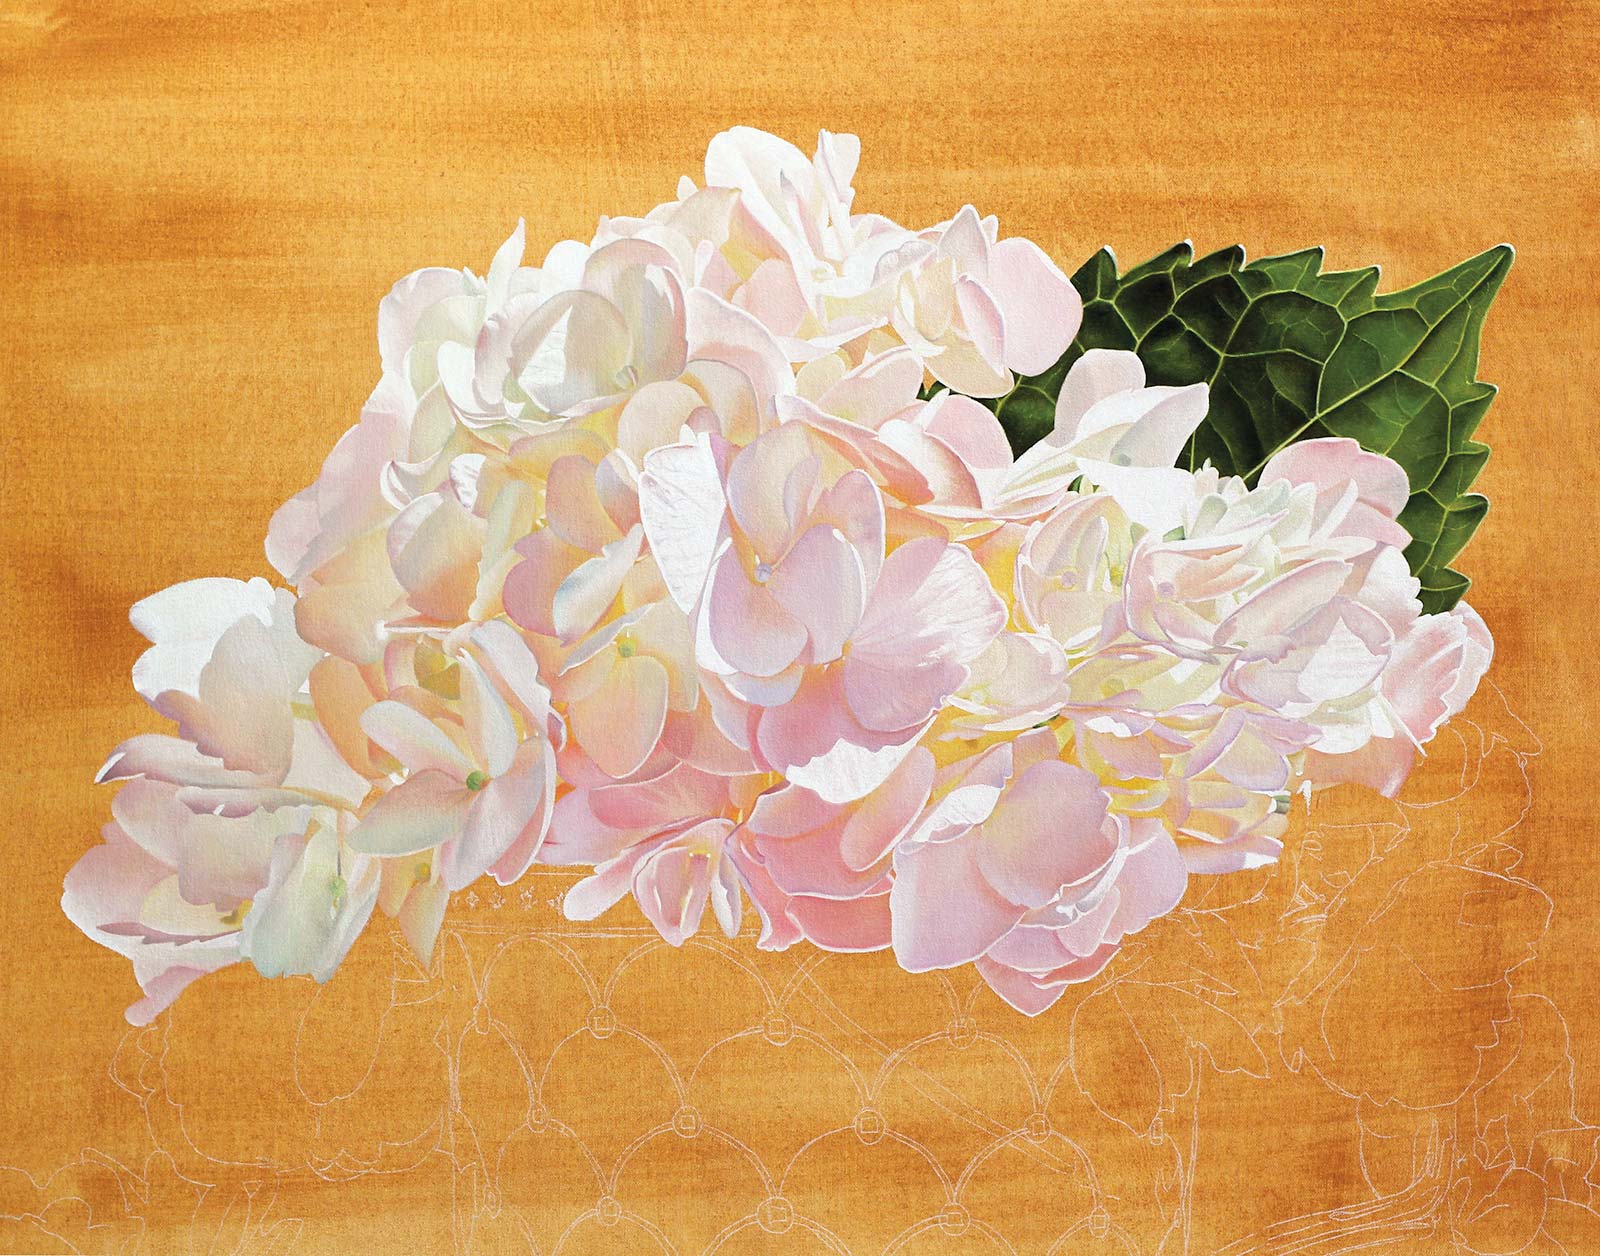
2Stage 2 Transferring & Starting Painting
After transferring the drawing to the tinted canvas, I begin the painting process. I always begin with the top left and work my way rightward until the flowers are finished. I don’t like to use a mahl stick, so this ensures that I don’t smudge the areas I’ve just painted. I strive to get the colors and values as close to the reference photo as possible.
 3
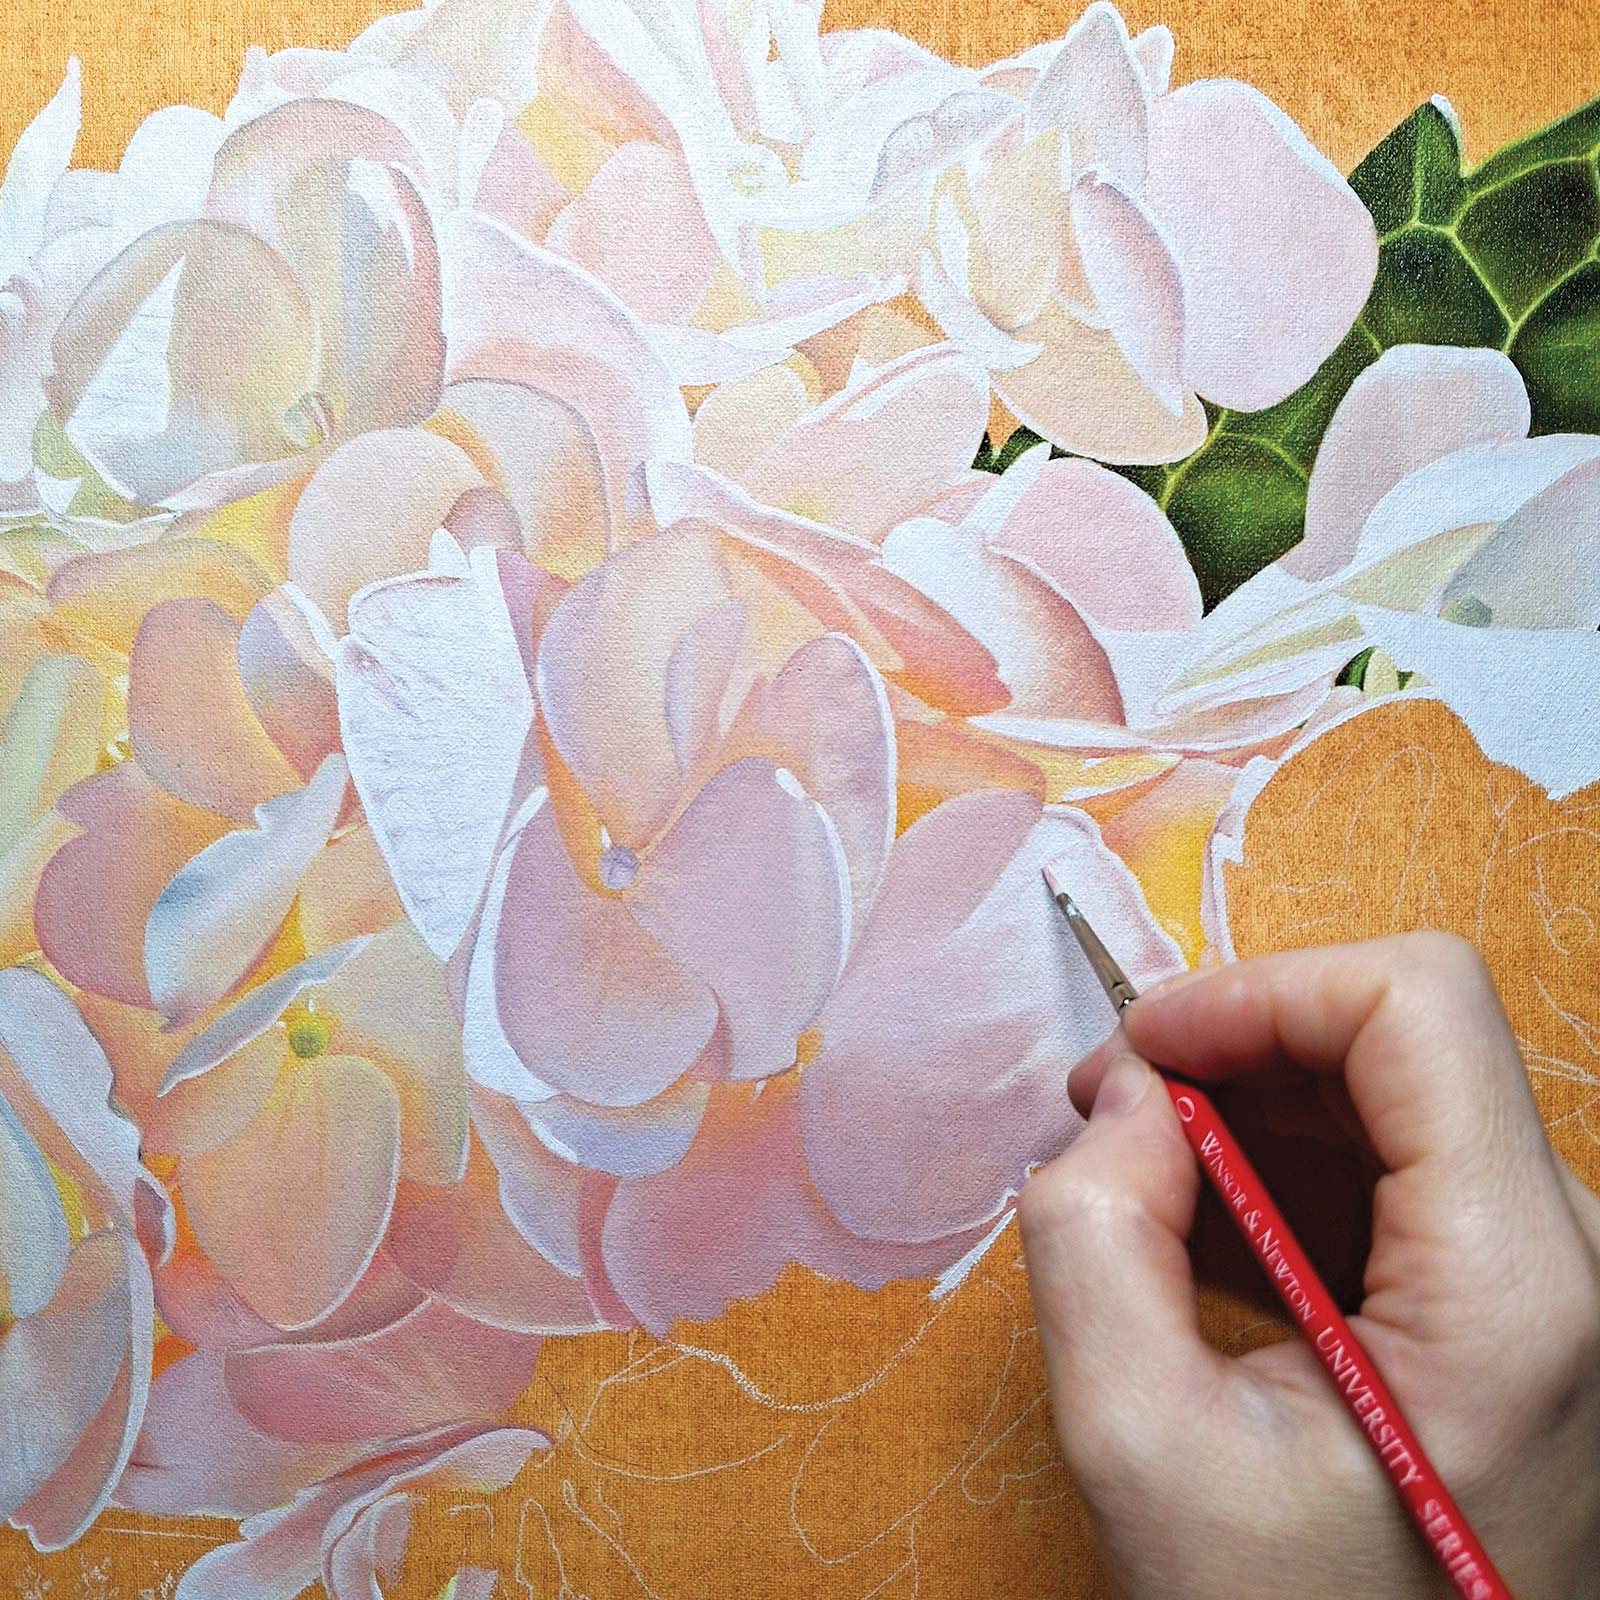
3Stage 3 Getting into the Details
I add as many details to this layer as possible, as this makes it easier for me with the second layer of paint.
 4
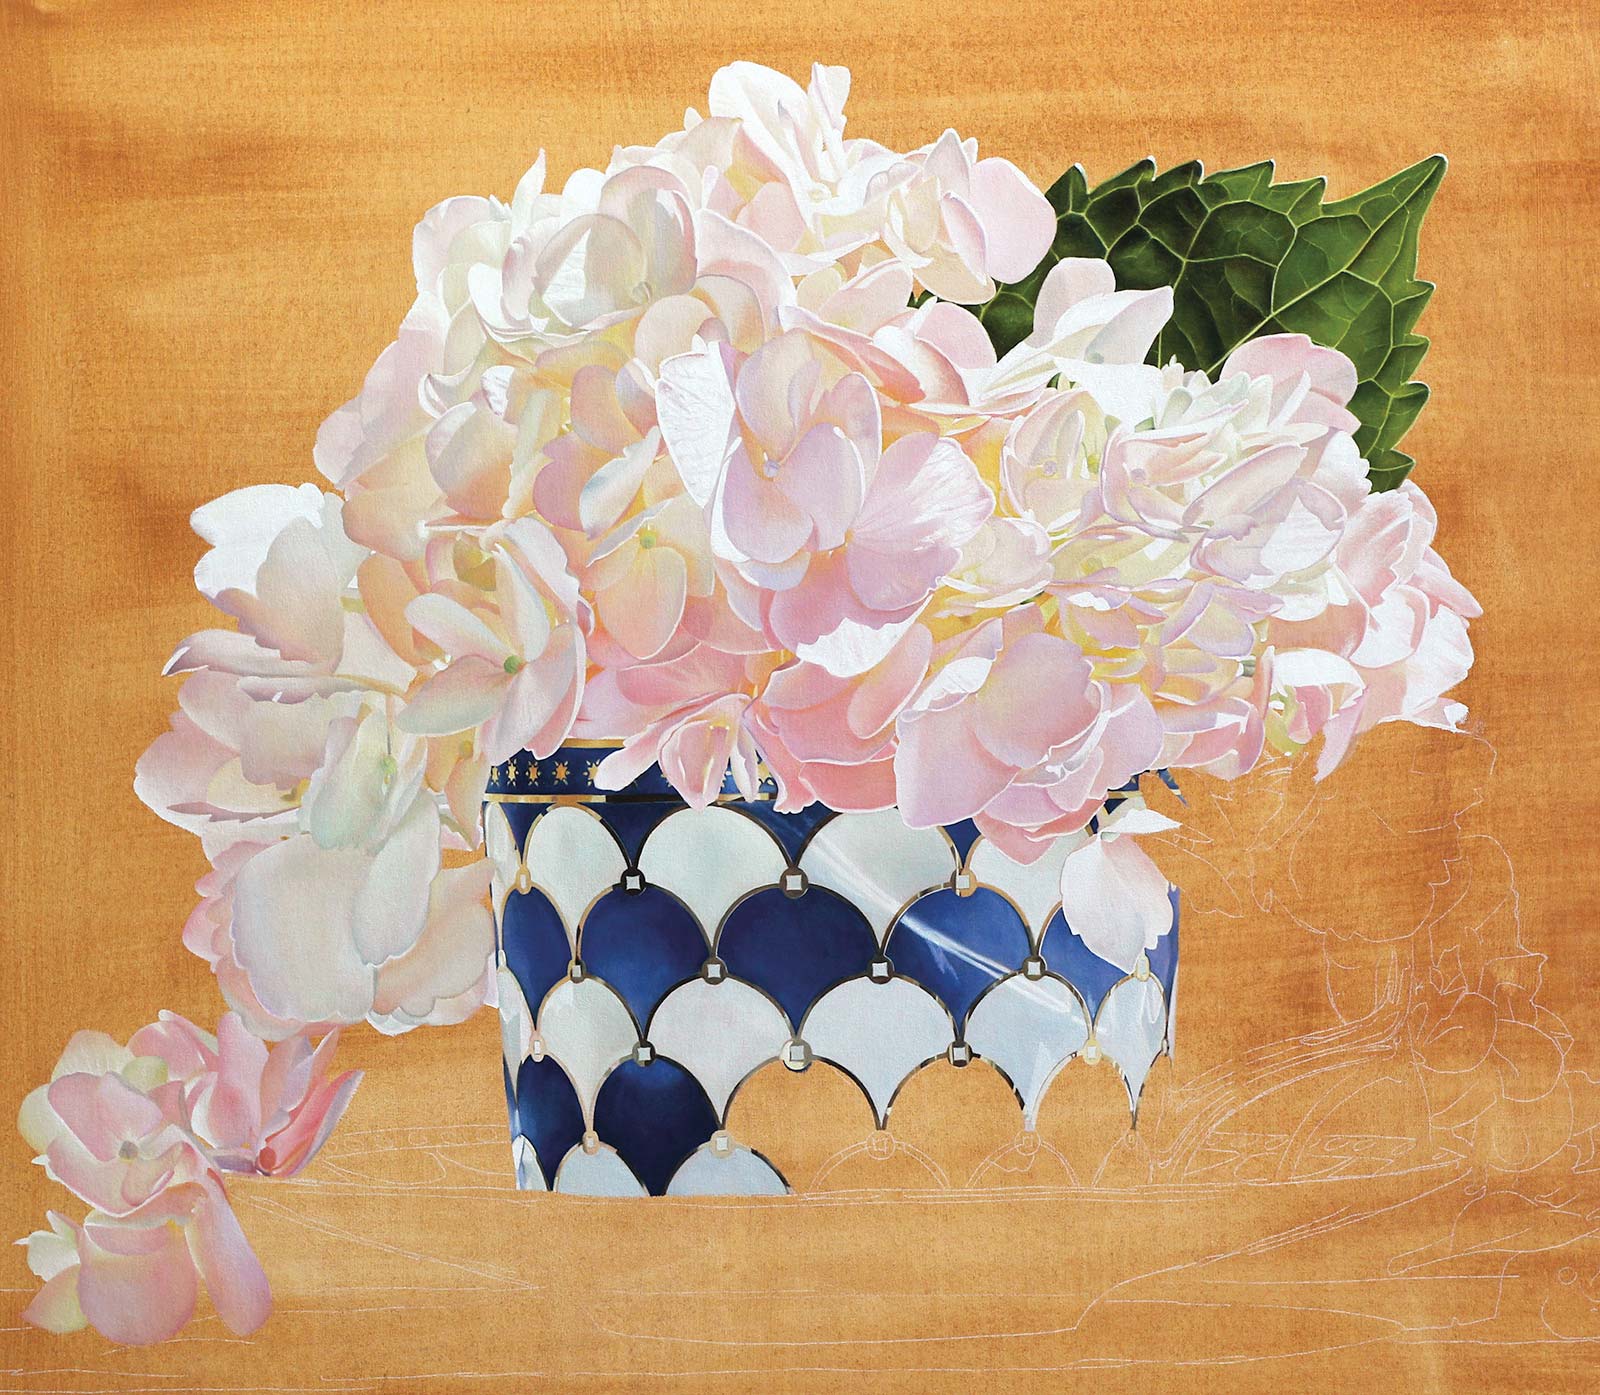
4Stage 4 The Teacup
Once most of the petals are finished, I begin the teacup. My drawing is usually not exactly precise, and here I make sure that the little details on the teacup are placed exactly where they should be. I begin with ultramarine blue, but the color doesn’t feel right. Nevertheless, I continue on, wondering if I may change the color in the next layer.
 5
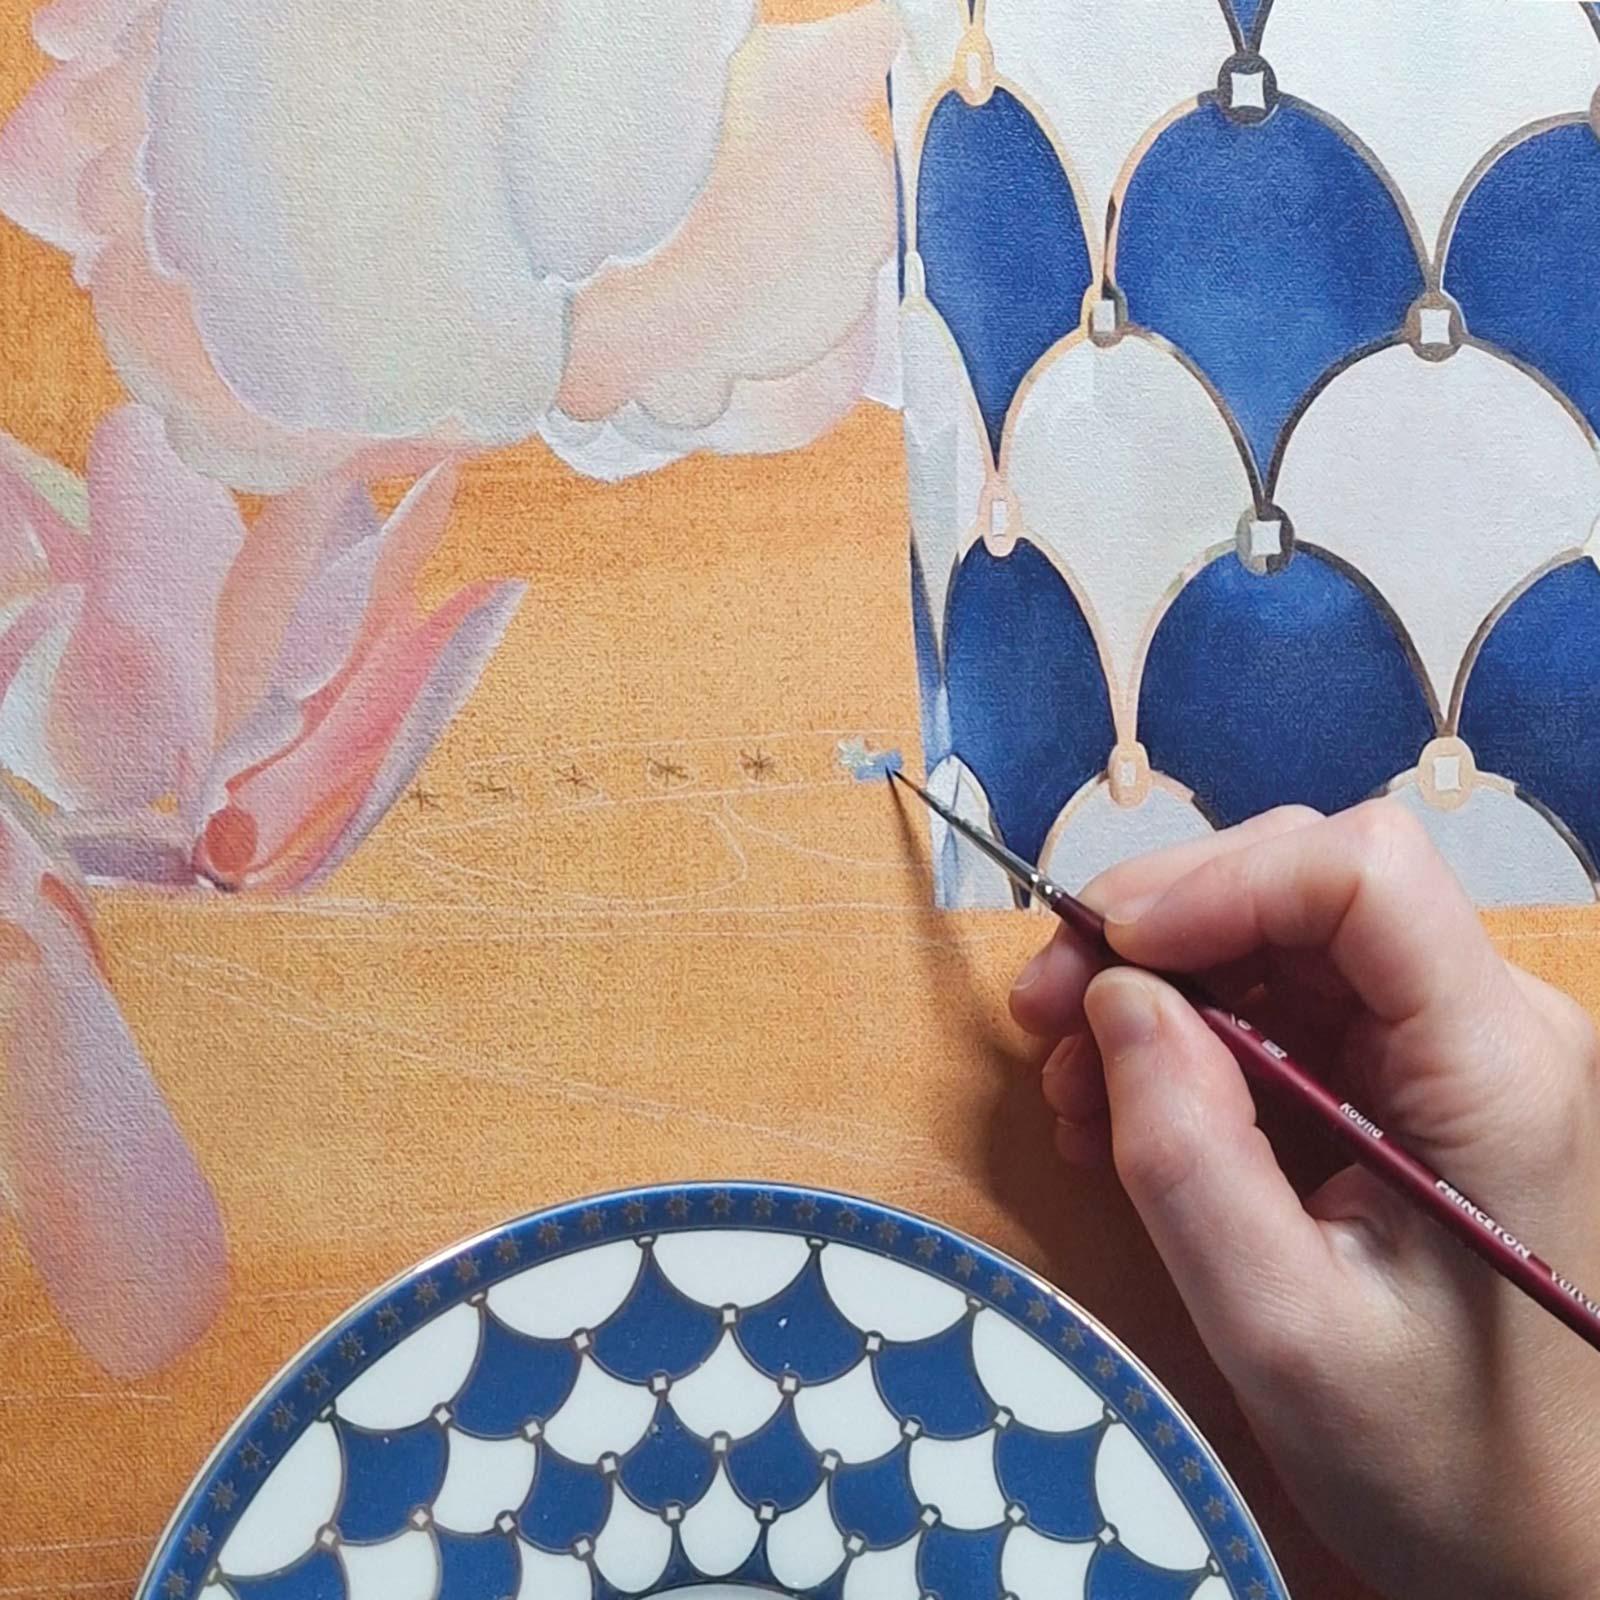
5Stage 5 More Details
Often, I will have the teacup on hand to look at while drawing. Little background details, such as the stars on the saucer, are often blurry in my photos. Using the saucer as a guide, I draw the details using a mechanical pencil.
 6
6Stage 6 Background & Tabletop
Once I have completed the subject matter, I like to use alkyd titanium white and Payne’s gray to complete the first layer of the background and tabletop. Because alkyd paints are fast-drying, I can help speed up the time it takes to finish the overall painting.
 7
7Stage 7 Final Background Layer
To do the final layer of the background, I use masking tape and paper to cover the subject matter. This way I don’t have to worry as I blend with large brushes. Once the background is to my liking, I use large flat brushes and horizontally brush from side to side, creating a very smooth finish.
 8
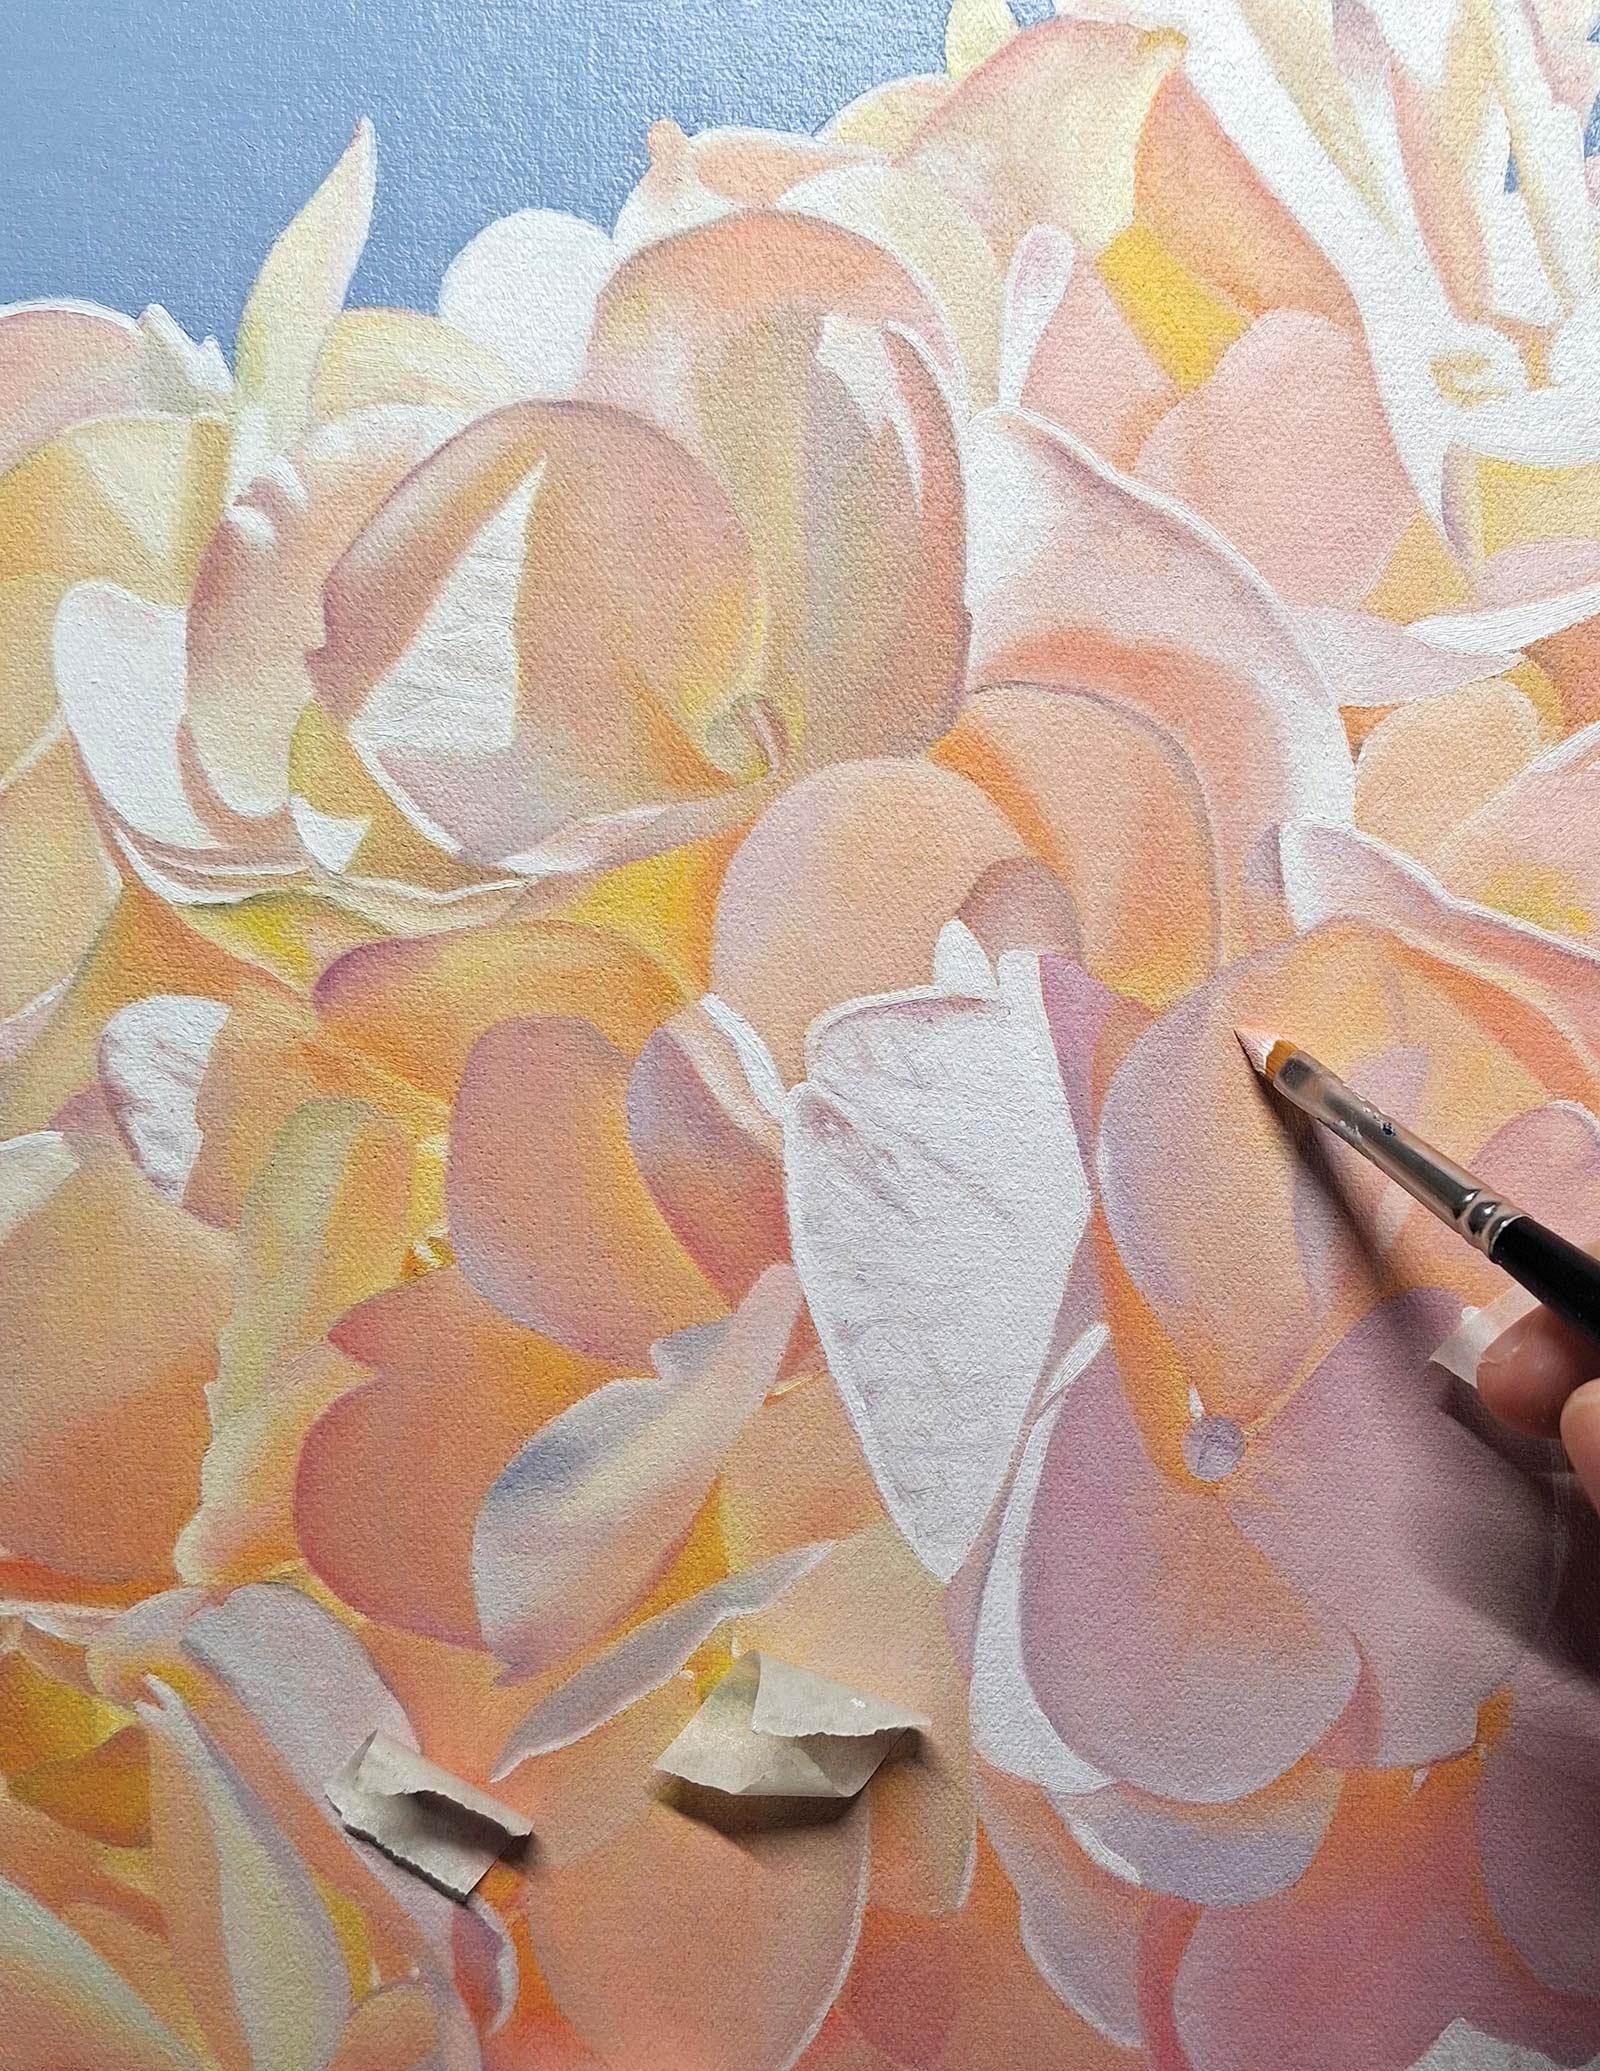
8Stage 8 Second Flower Layer
Once the background is complete, I take the tape and paper off and begin the second layer on the flowers, making sure all the edges are clean. I also often punch up the contrast and saturation of the colors as I paint.
 9
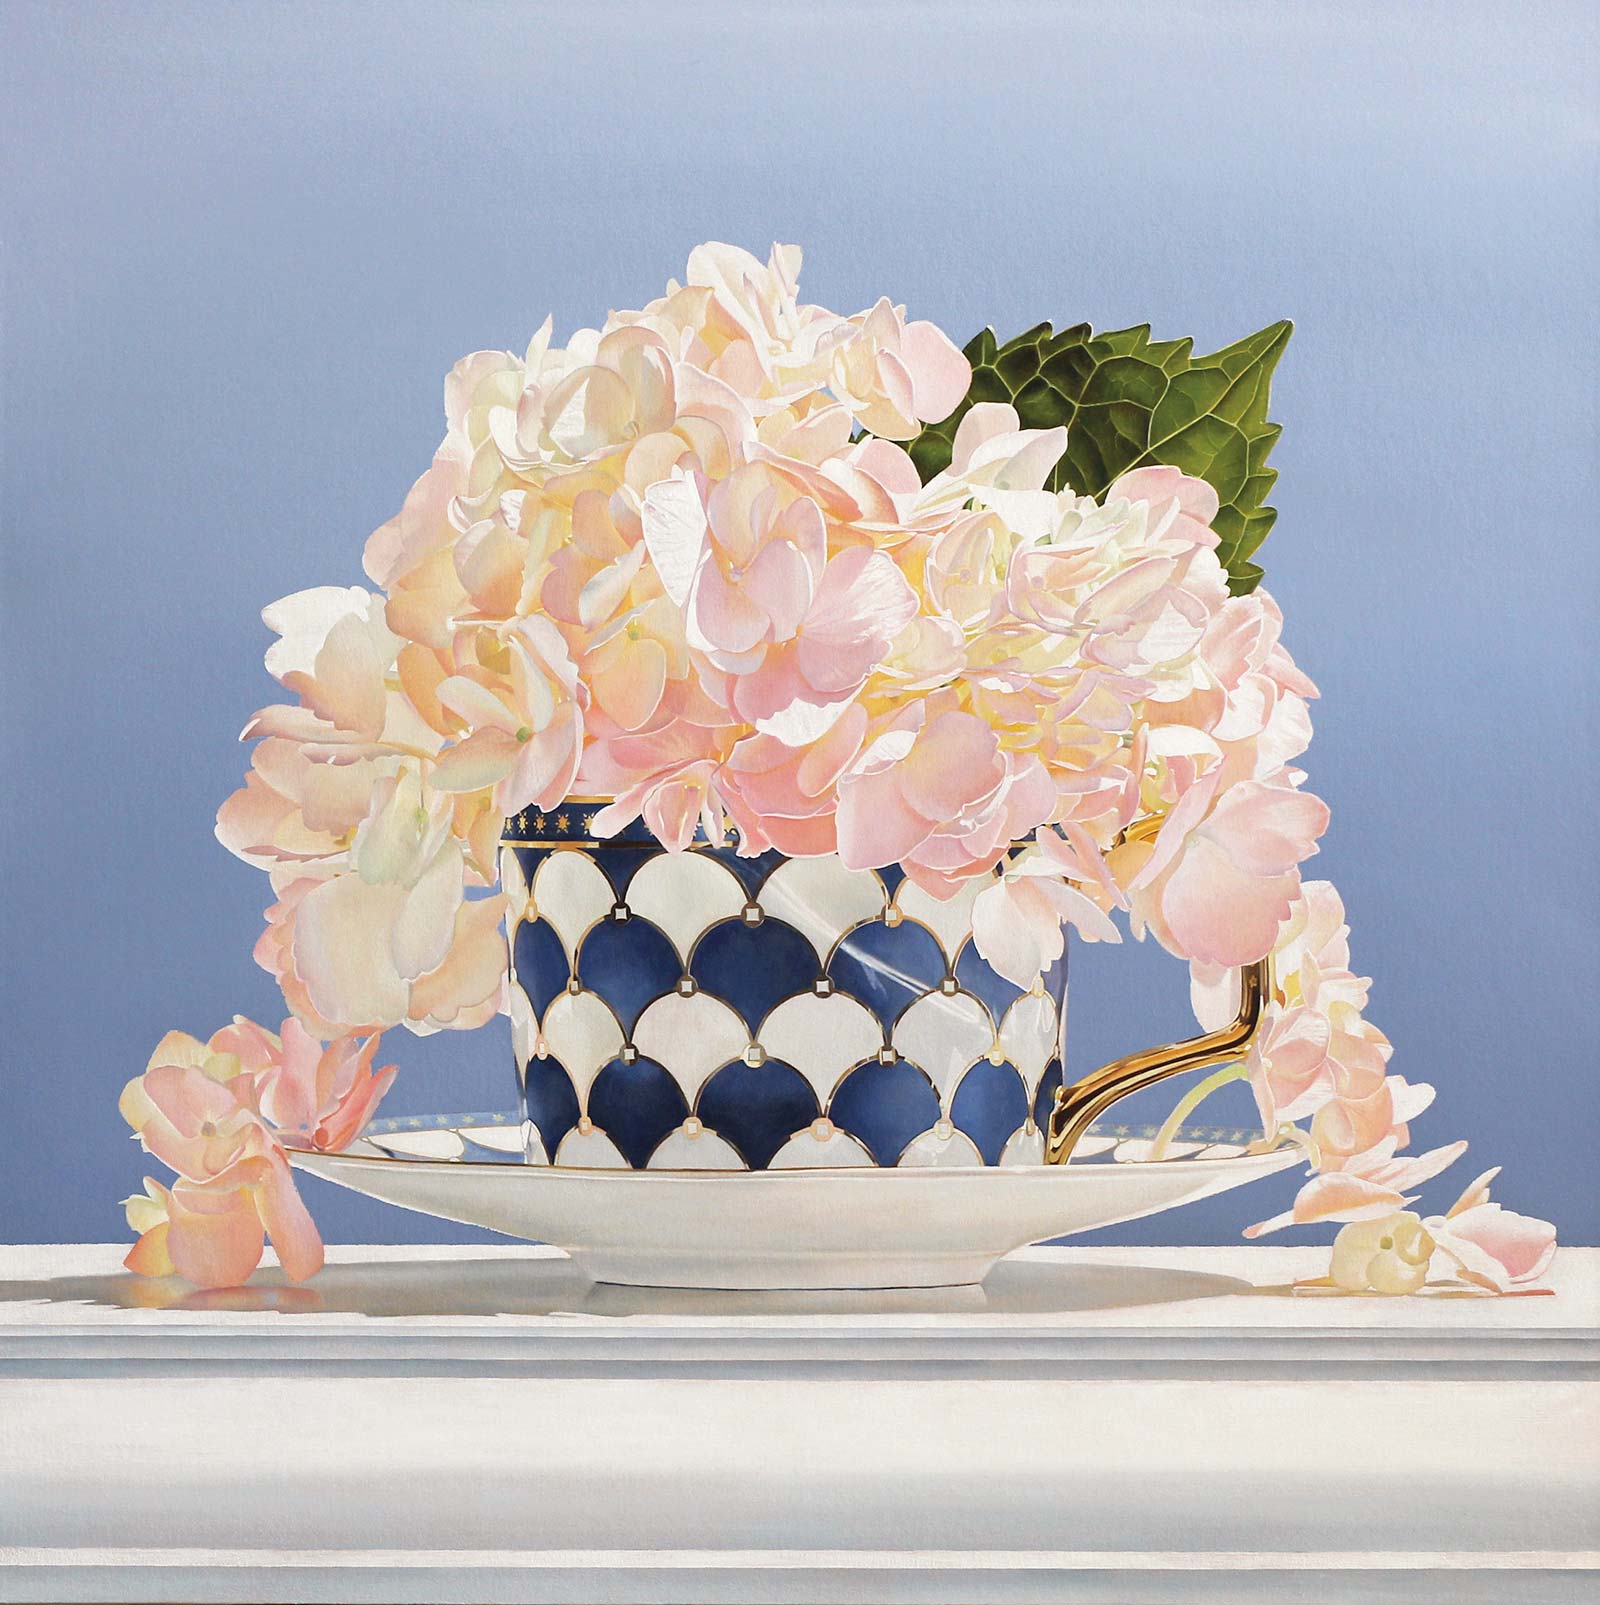
9Stage 9 Adjusting The Teacup
The background and flowers are finished, but I am not liking the color of the teacup or the matching blue shade on the background. It doesn’t seem to blend well with the colors of the petals. I decide to change course.
 10
10Stage 10 From Blue to Pink
Beginning with the teacup, I change the color from blue to a dark pink. I will need to paint an additional layer after this, as the color is a bit transparent and spreads unevenly on top of the blue. I also add another layer to the white areas of the teacup and complete the remaining bottom portion of the painting, including the saucer and tabletop.
 11
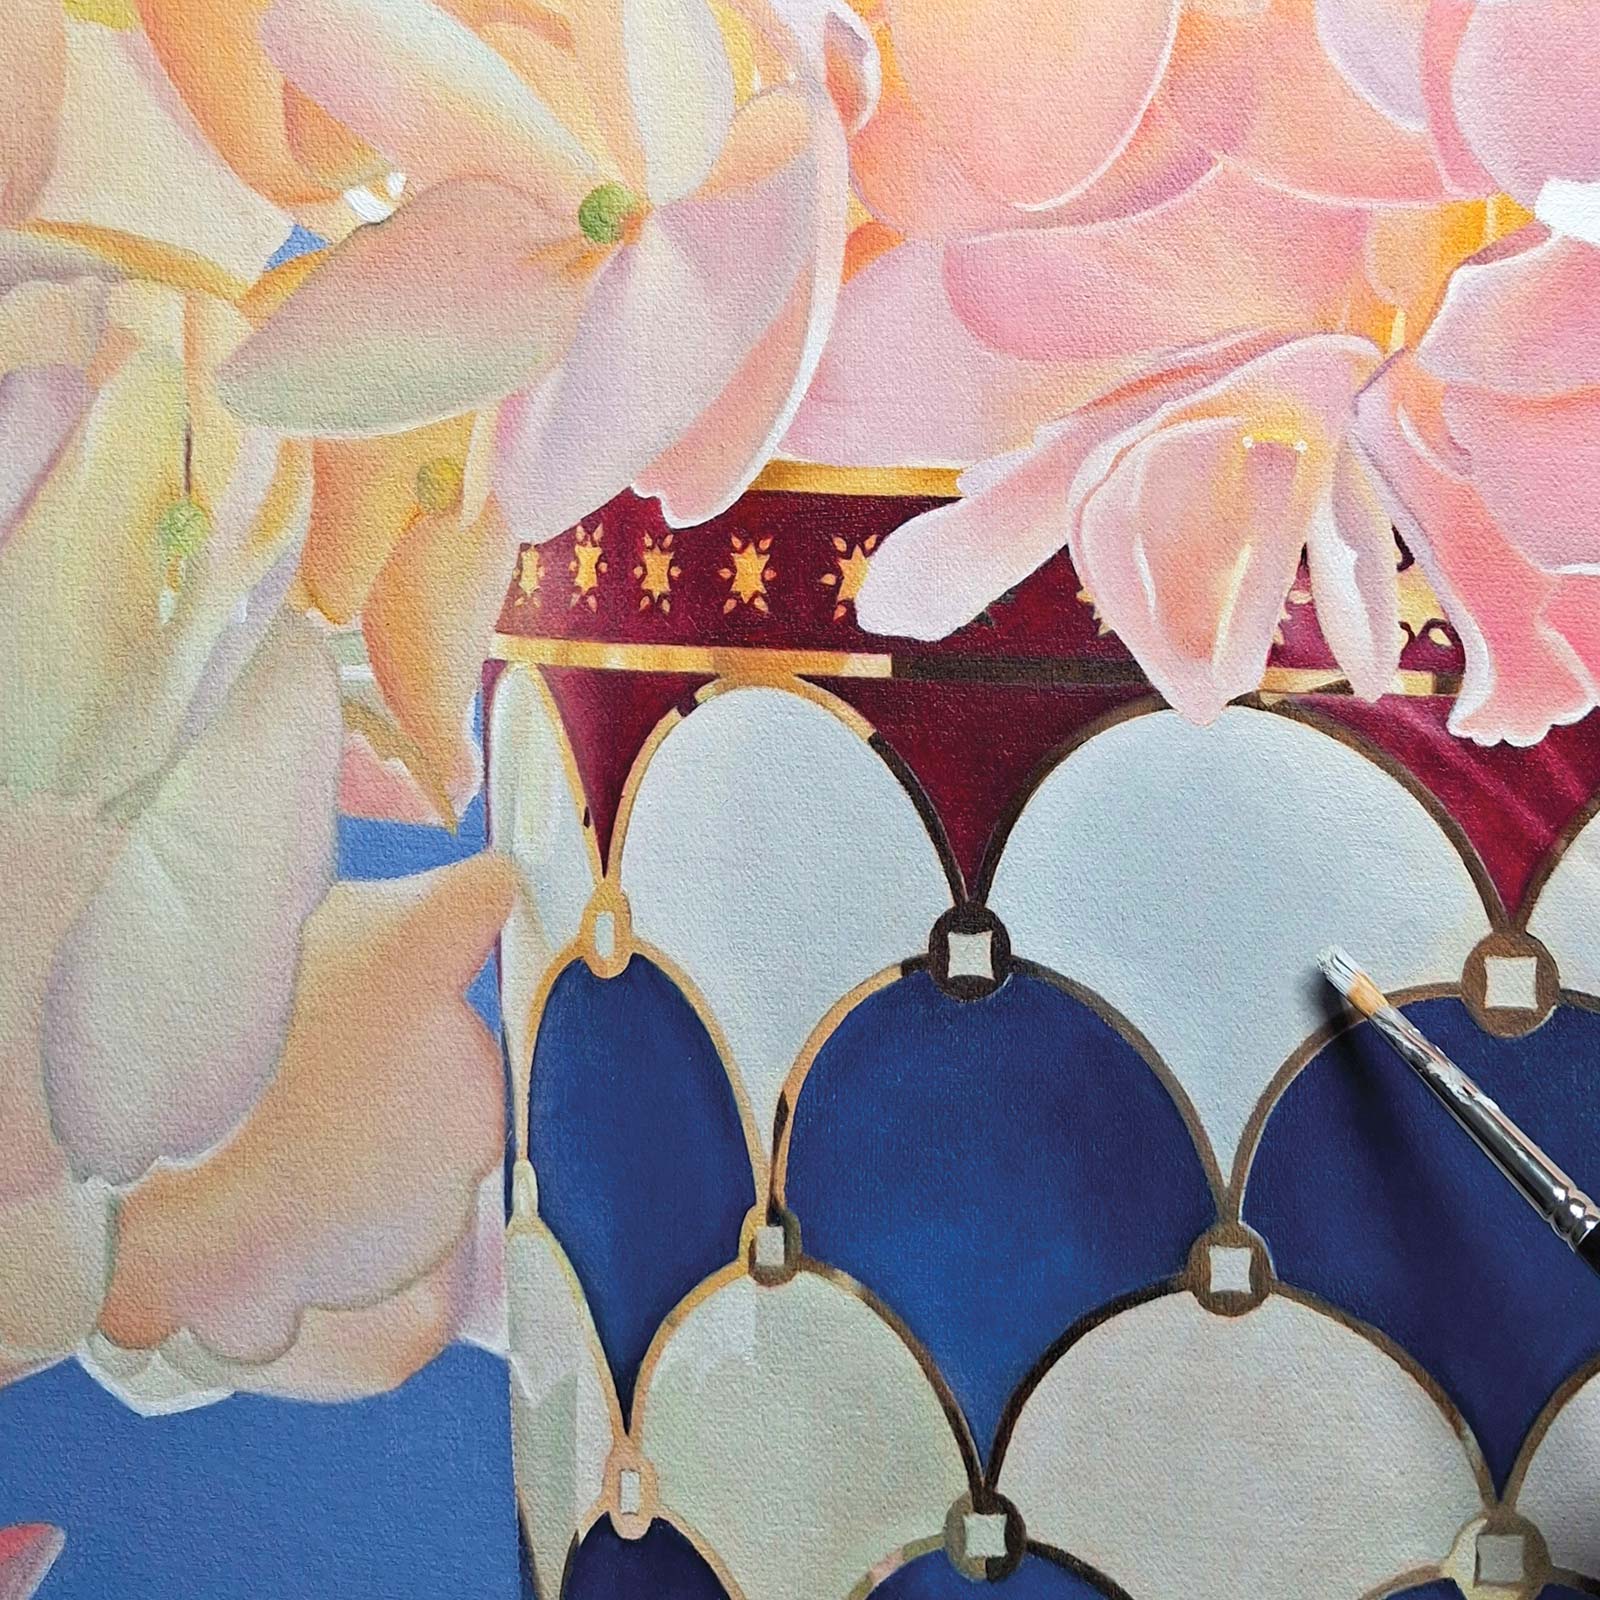
11Stage 11 Third Layer of Teacup
I finish the third layer of the teacup in pink. I believe this color is much more complementary to the flowers than my previous blue.
 12
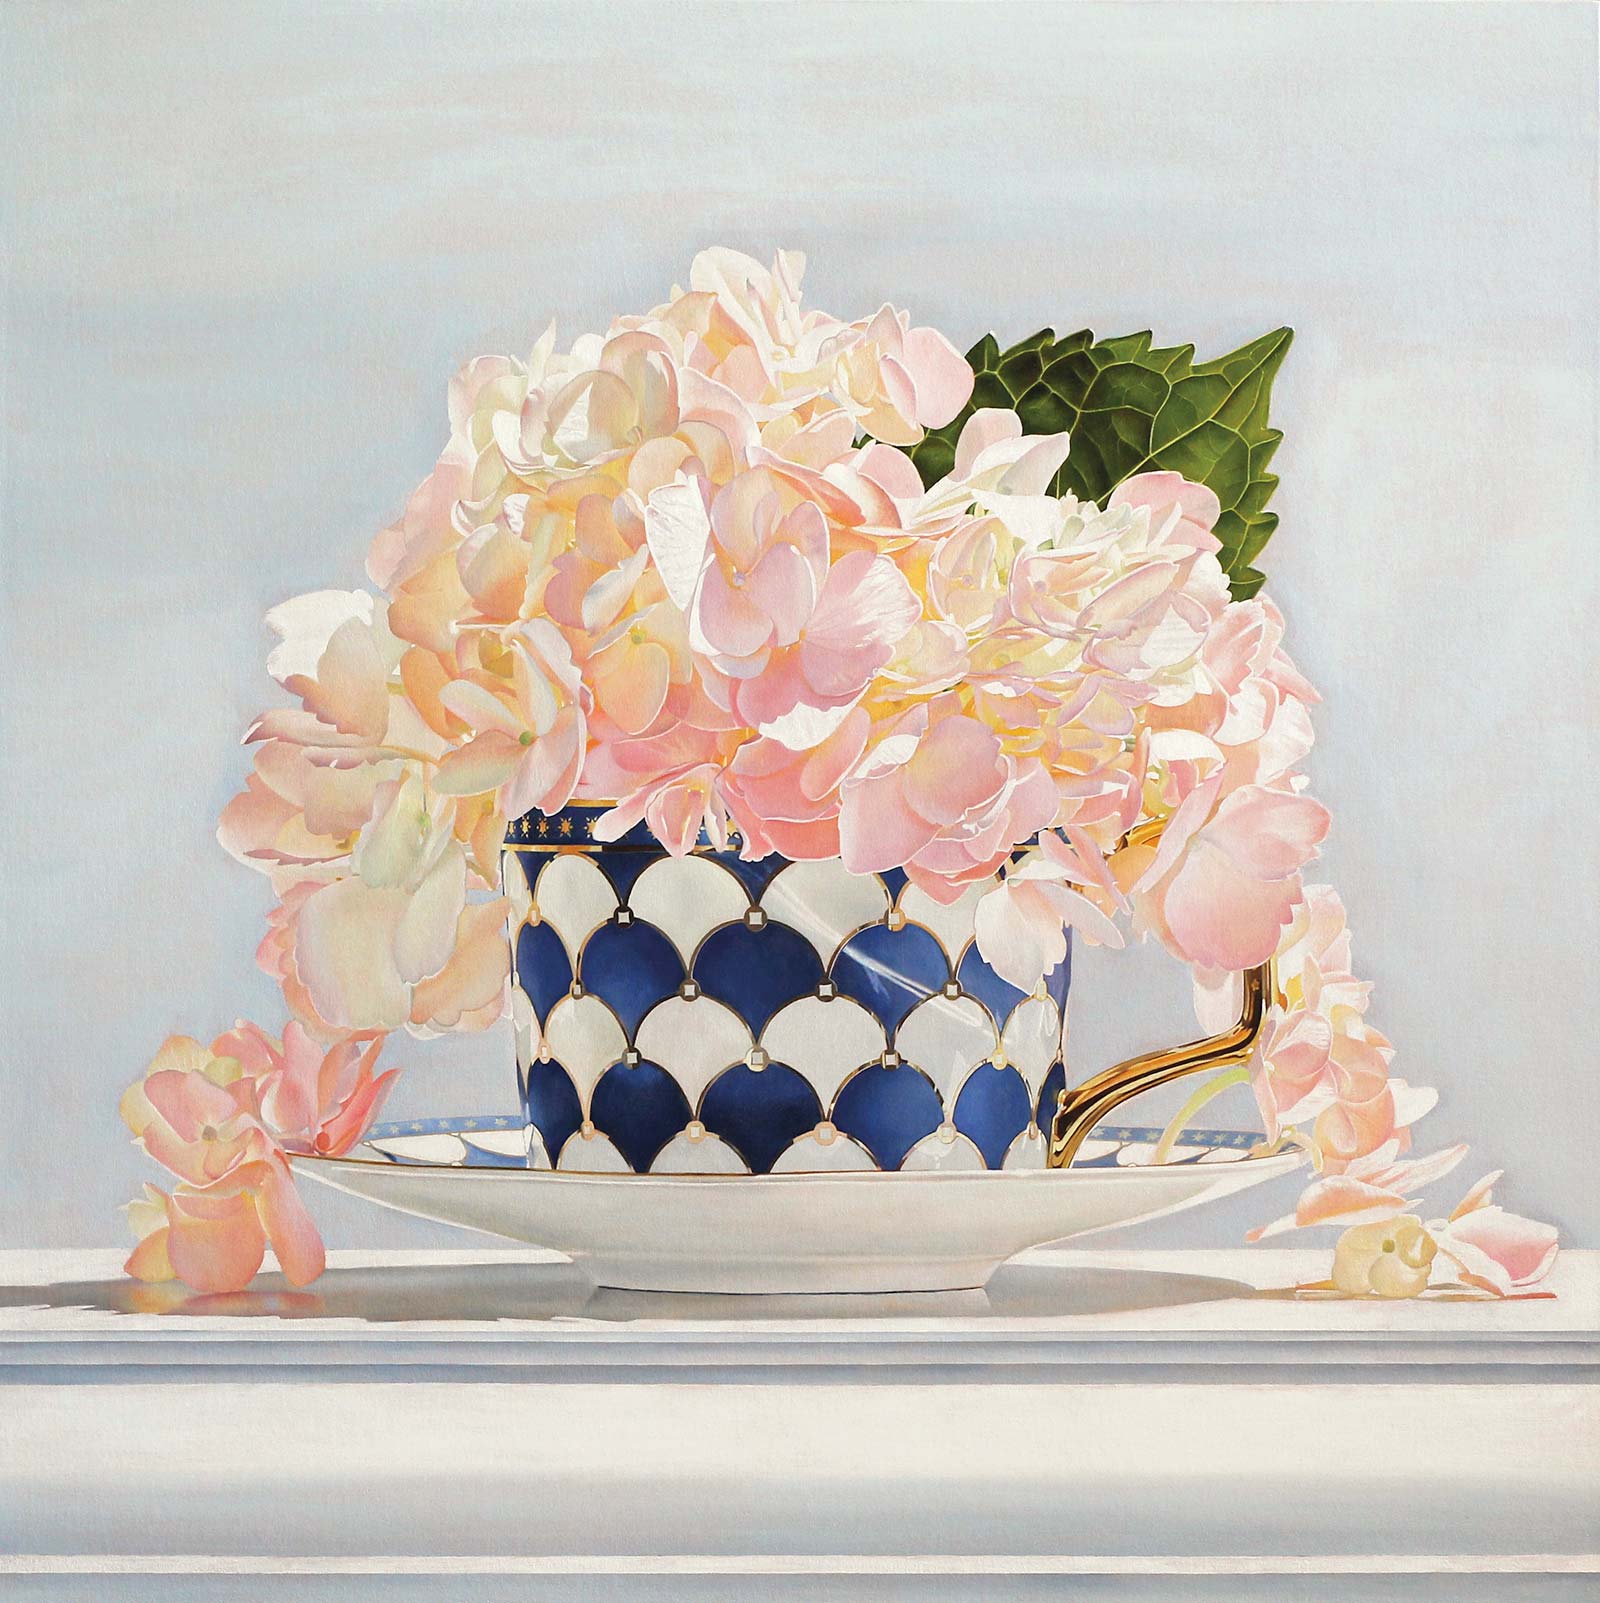
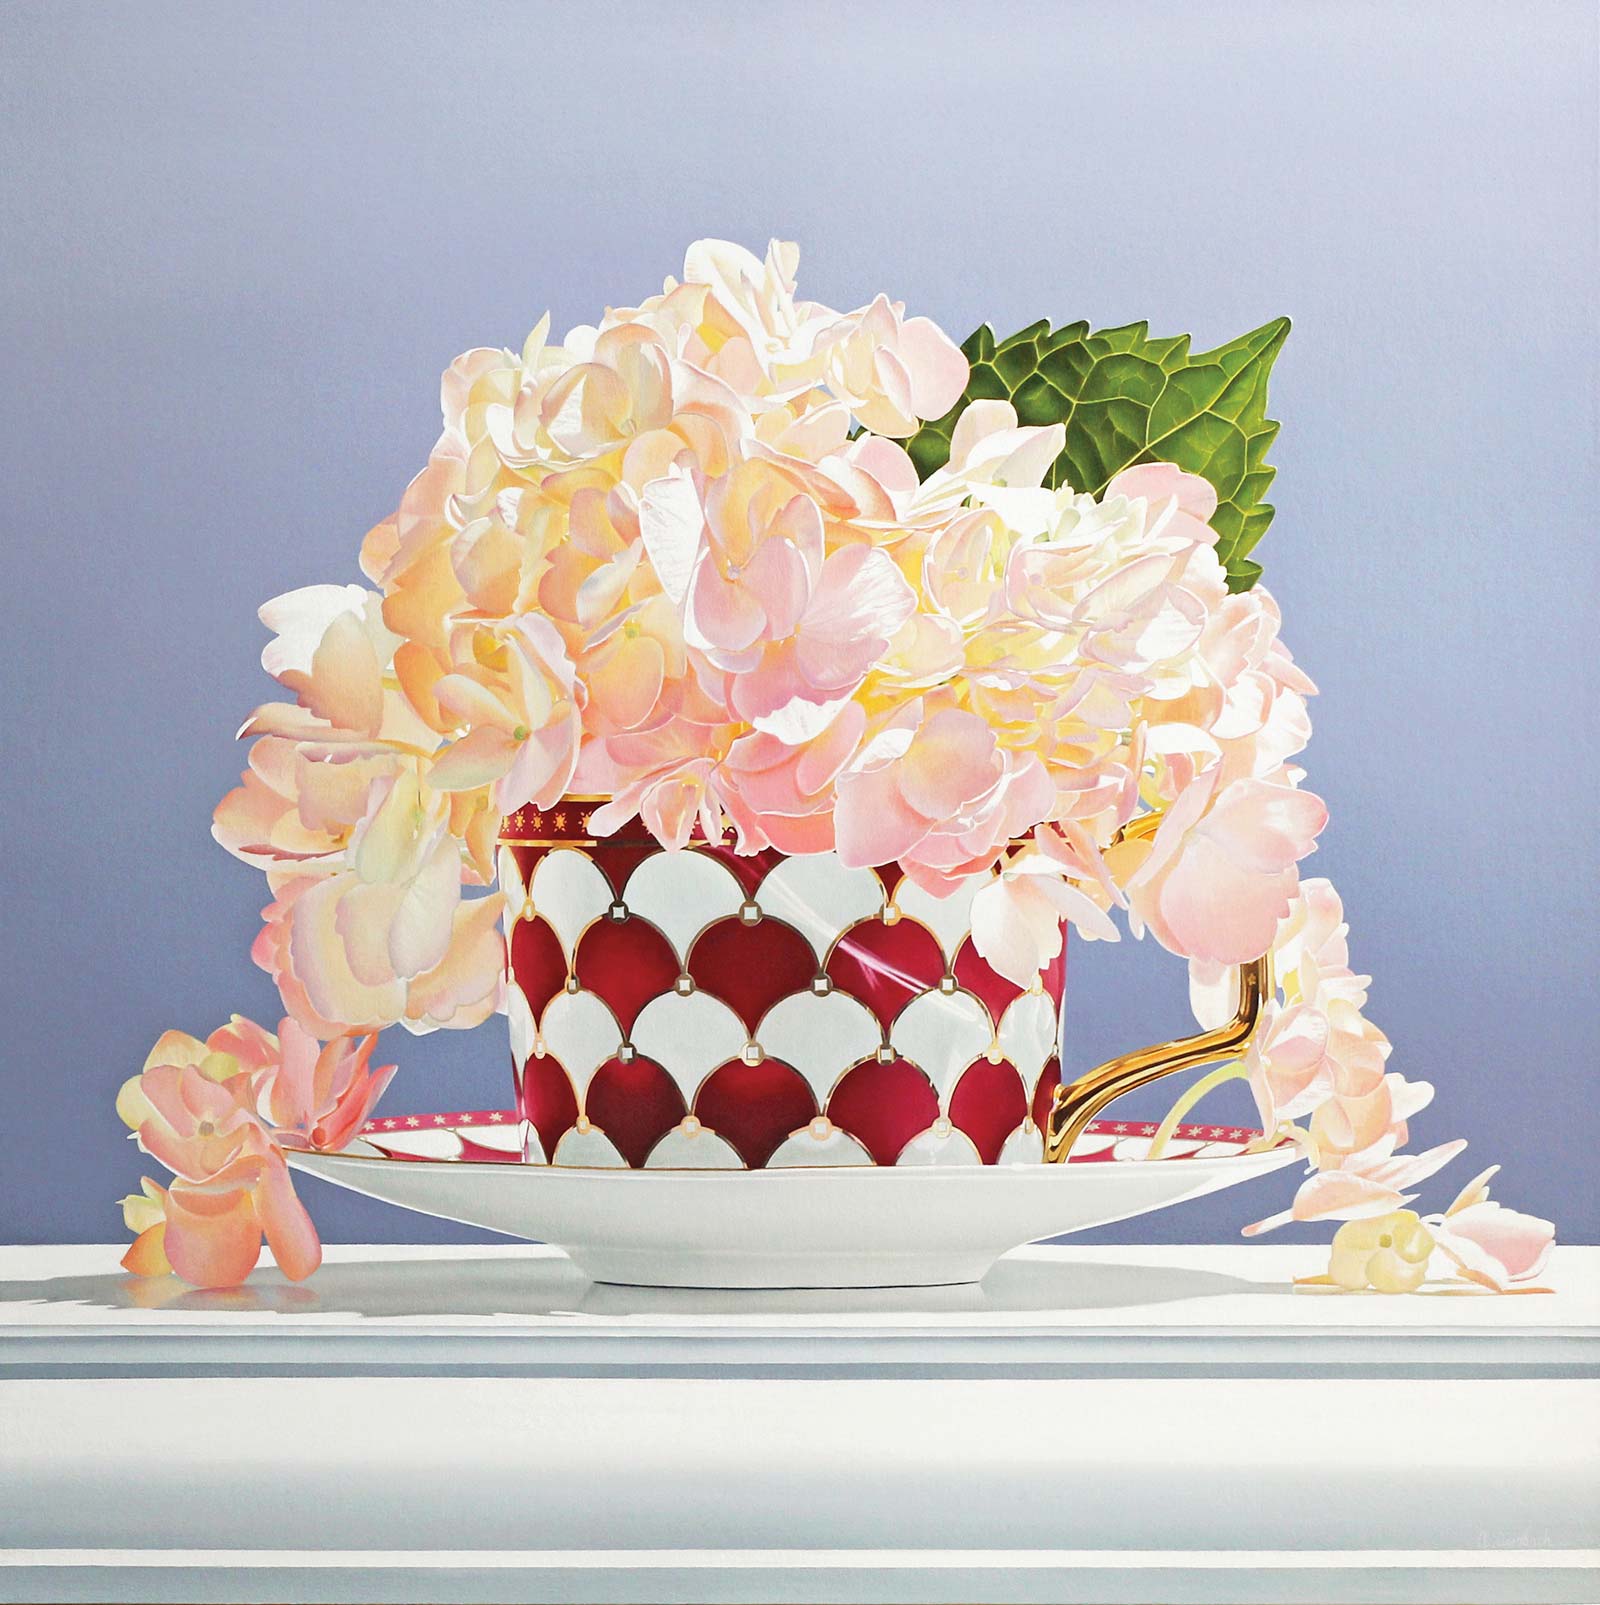
12Stage 12 Finished Artwork
Journey, oil on mounted canvas, 30 x 30" (76 x 76 cm)
For the final background, I change the color from a shade of blue to a slightly more purplish/gray shade. I am finally satisfied with my color correction and consider the work complete.
About the artist
 Alexandra Averbach
While Alexandra Averbach had a profound passion for art and painting from an early age, she first earned degrees in economics and spent several years in finance before the professional art world beckoned. She completed a Master of Arts in art history, focusing on 17th-century Dutch and Flemish art, and thereafter, was inspired to begin her career in painting. Working with luminous light and meticulous detail, Averbach’s still lifes celebrate the quiet beauty and fleeting perfection of nature. The paintings invite viewers to pause, to appreciate stillness and to find depth in the delicate balance between vitality and transience. Her work has been featured in a number of magazines and publications, and is in permanent and private collections worldwide.
Represented by
Arden Gallery, Massachusetts, USA, ardengallery.com
Skidmore Contemporary Art, California, USA, skidmorecontemporaryart.com
Plus One Gallery, London, UK plusonegallery.com
Louisa Gould Gallery, Massachusetts, USA, louisagould.com
Contact at
alexandra@alexandrapaintings.com
alexandrapaintings.com